
Curse of the Allflame Mechanic Guide
Introduction
Curse of the Allflame is a new mechanic where you acquire Charts from Cursed Treasure that allow you to descend to the ocean floor. On the ocean floor, you need to explore and loot as much as you can – sending your loot back to the surface to keep it safe, while being careful to avoid drowning!
As a reward, you’ll gain access to Allflame crafting – a powerful new crafting method that allows you to see several outcomes of a craft… and keep the best one!
This is a Pre-Launch Guide, as the Curse of the Allflame Challenge League is not yet live. This guide is based on publicly available information about Curse of the Allflame through reveals, teasers, Q&A, developer comments, etc, and will continue to be updated up through – and after – league launch. As such, information in this guide may be inaccurate or simply changed by GGG prior to launch.
Encountering Cursed Treasure
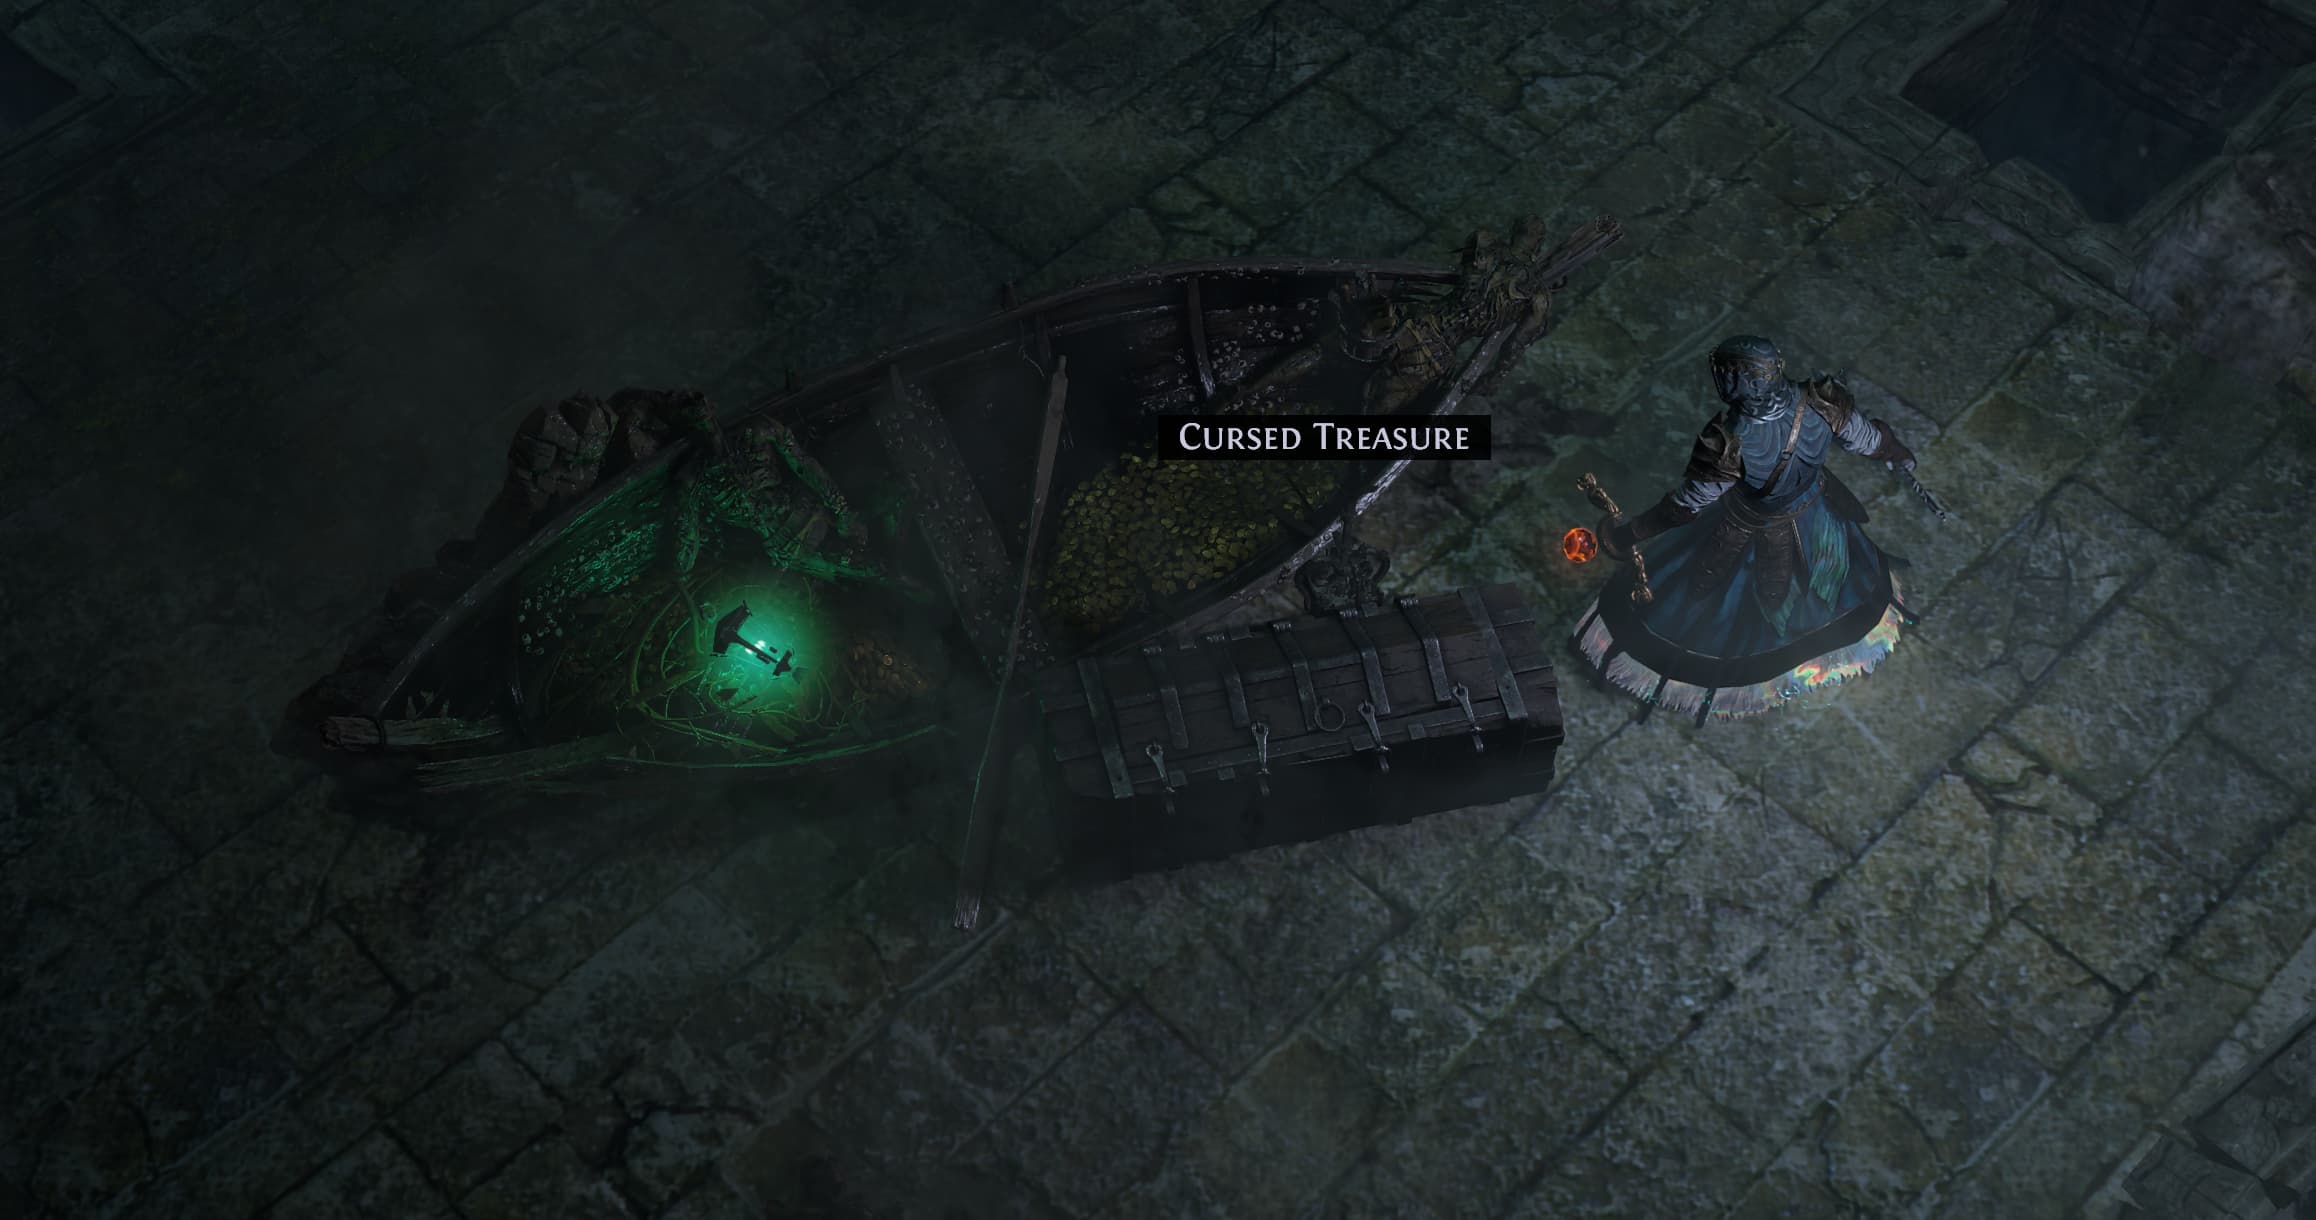
During the 3.29 Challenge League, you’ll find Cursed Treasure in every zone in the game. Killing the surrounding enemies and opening the treasure will drop a Chart and grant a bonus for the remainder of the zone.
Possible bonuses include:- Each Rare or Unique monster you kill spawns crabs on death
- You become possessed by a Torment spirit
The Sovereign
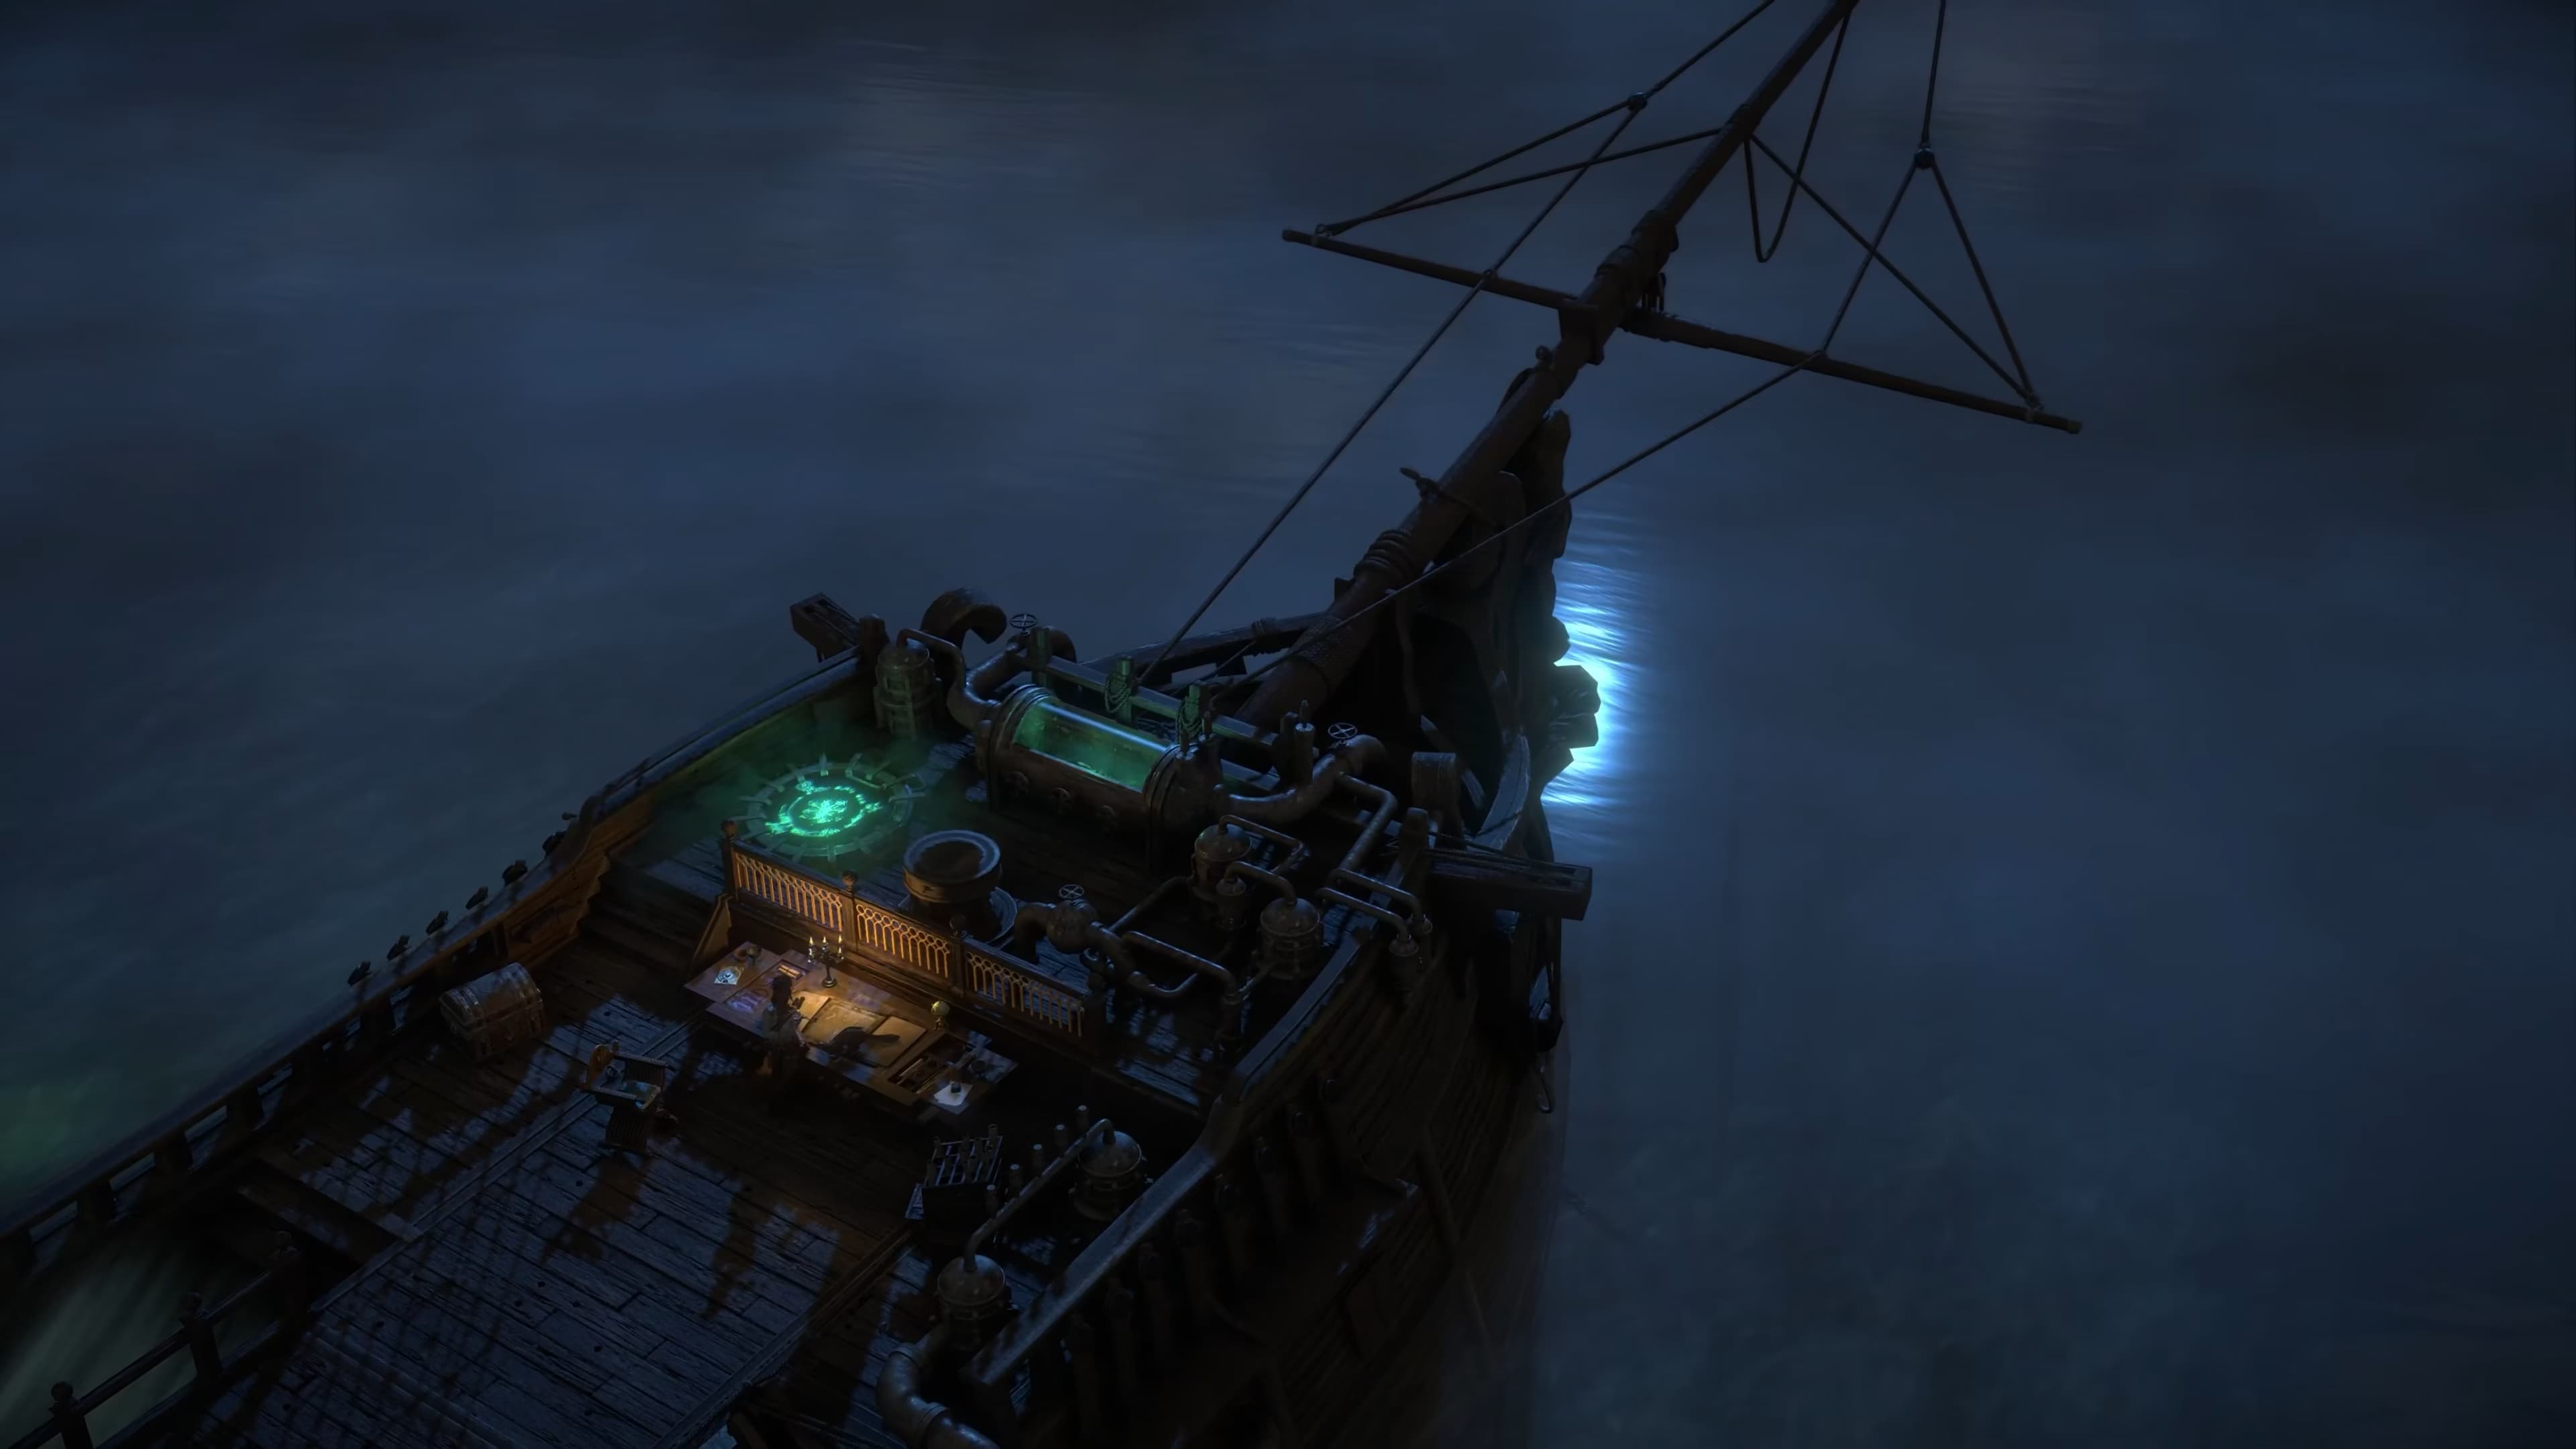
Once you meet the NPC Valerie, you will gain access to a zone – The Sovereign, a boat you will use as a hub area for Allflame content.
The upper deck allows you to embark on Charts and Voyages. Below decks is where you can do Allflame Crafting.
Chart Storage
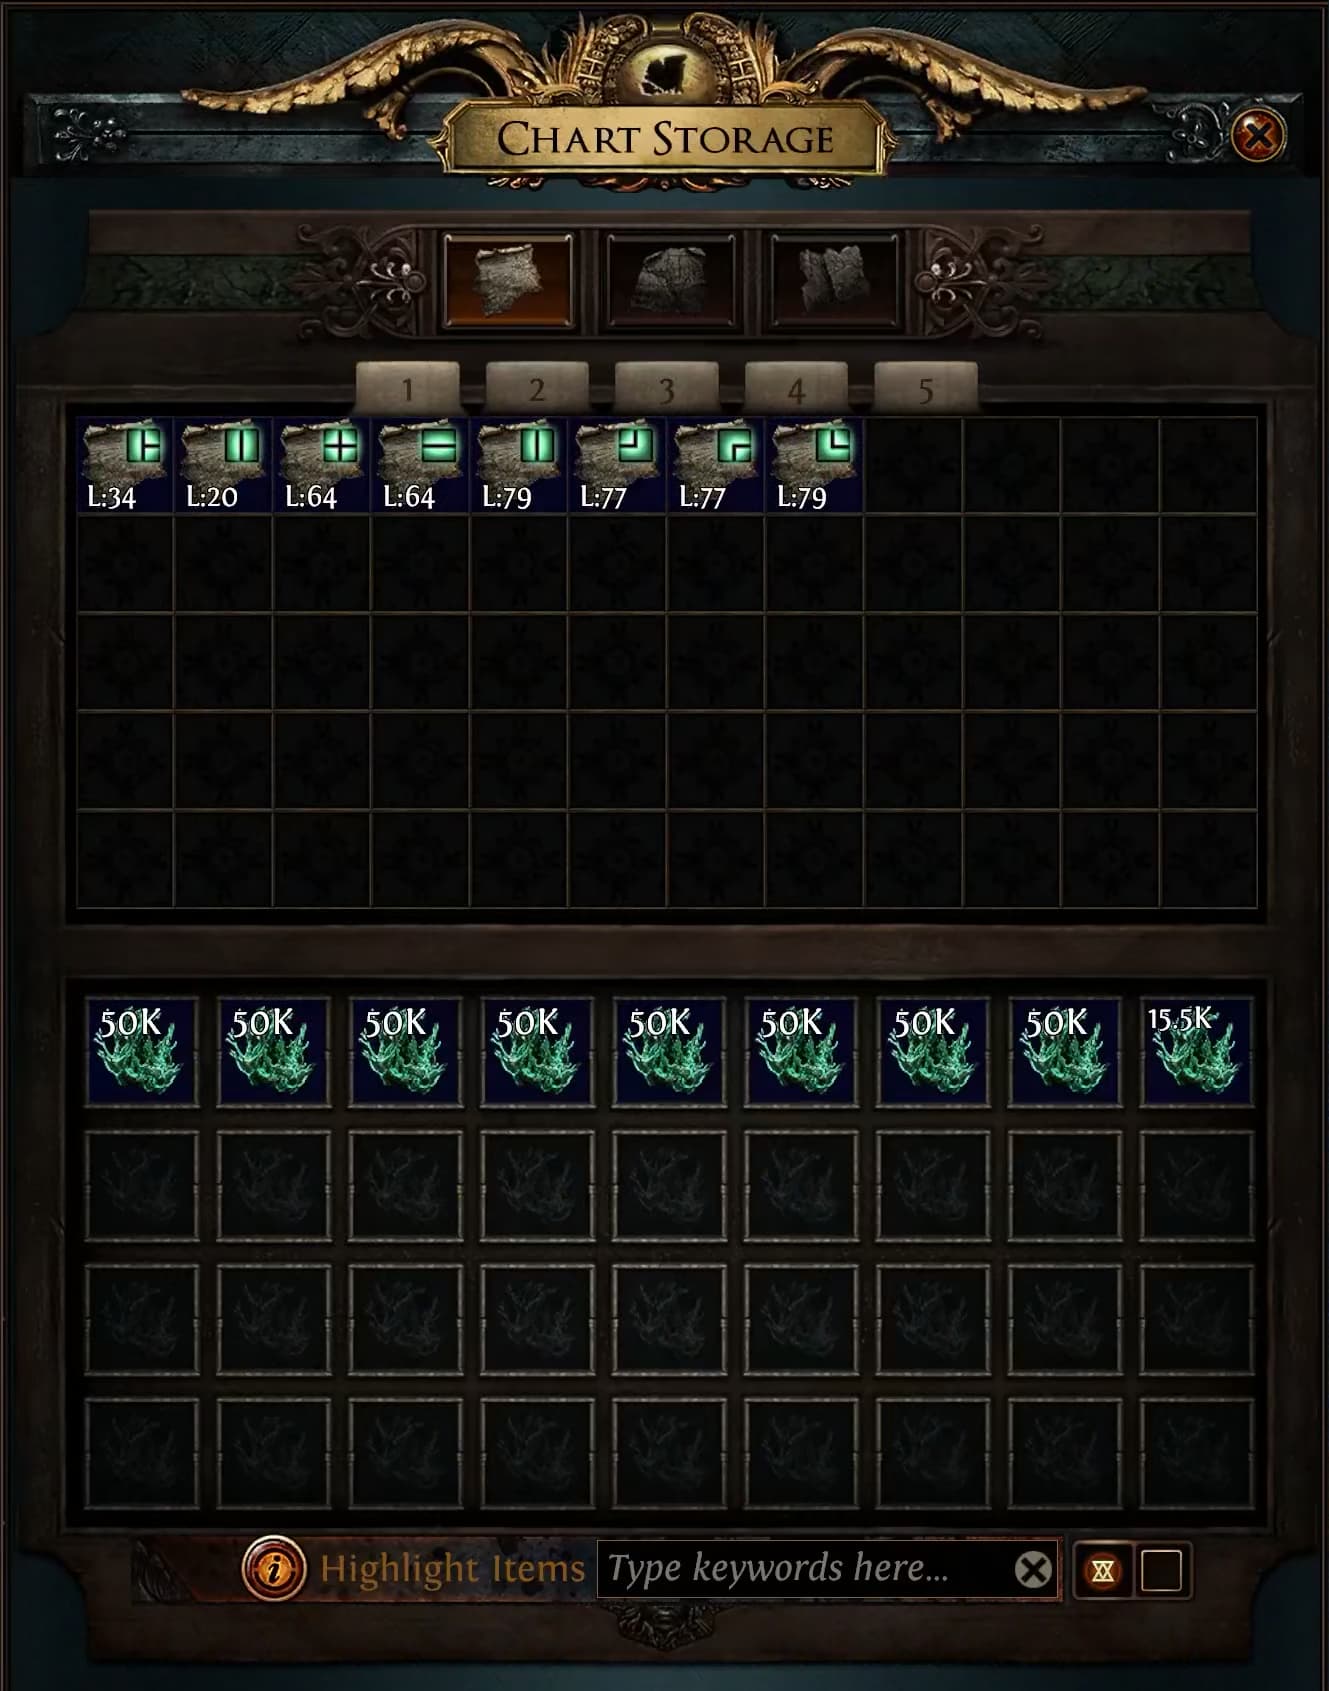
Located on the upper deck, the Chart Storage chest allows you to store all of your Charts – whether they’re charted or uncharted.
This chest can be added to your hideout, and you can enable the Chart stash affinity to automatically store all your Charts.
Exploring the Depths
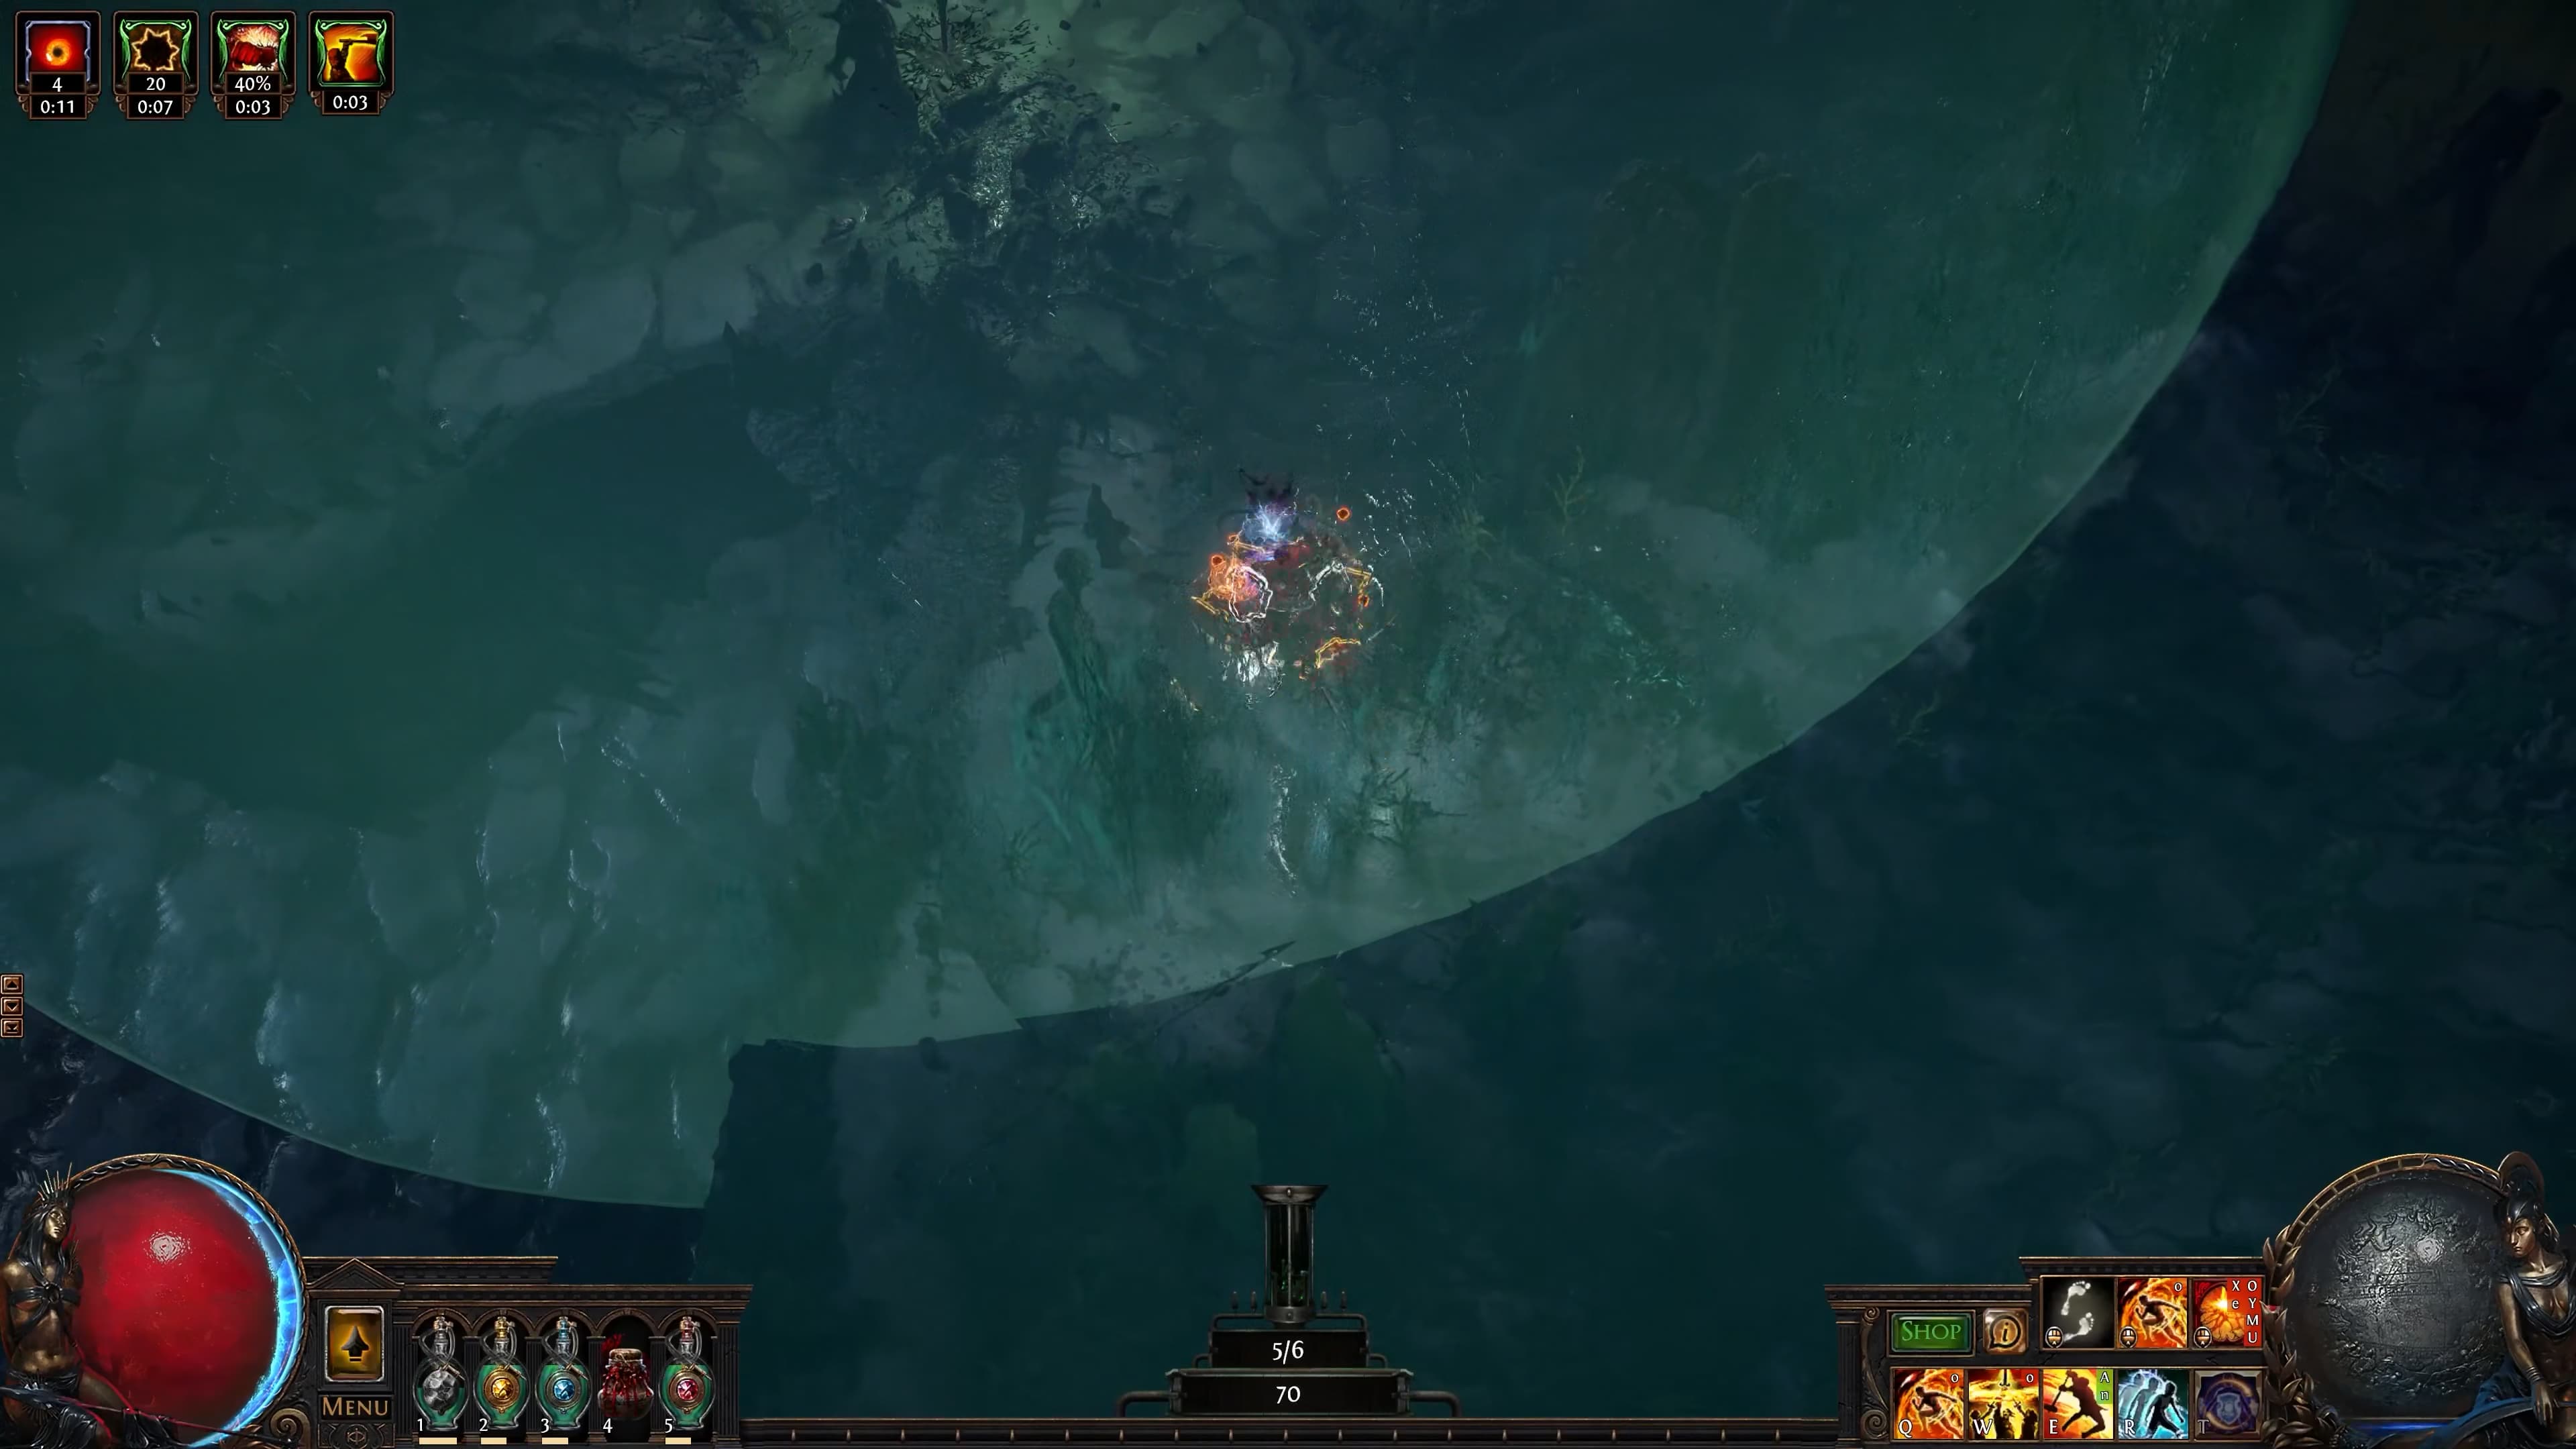
When underwater on a Chart or Voyage, you need to make use of Allflame Lanterns to allow you to explore the depths without drowning, while collecting as much loot as possible.
Allflame Lanterns
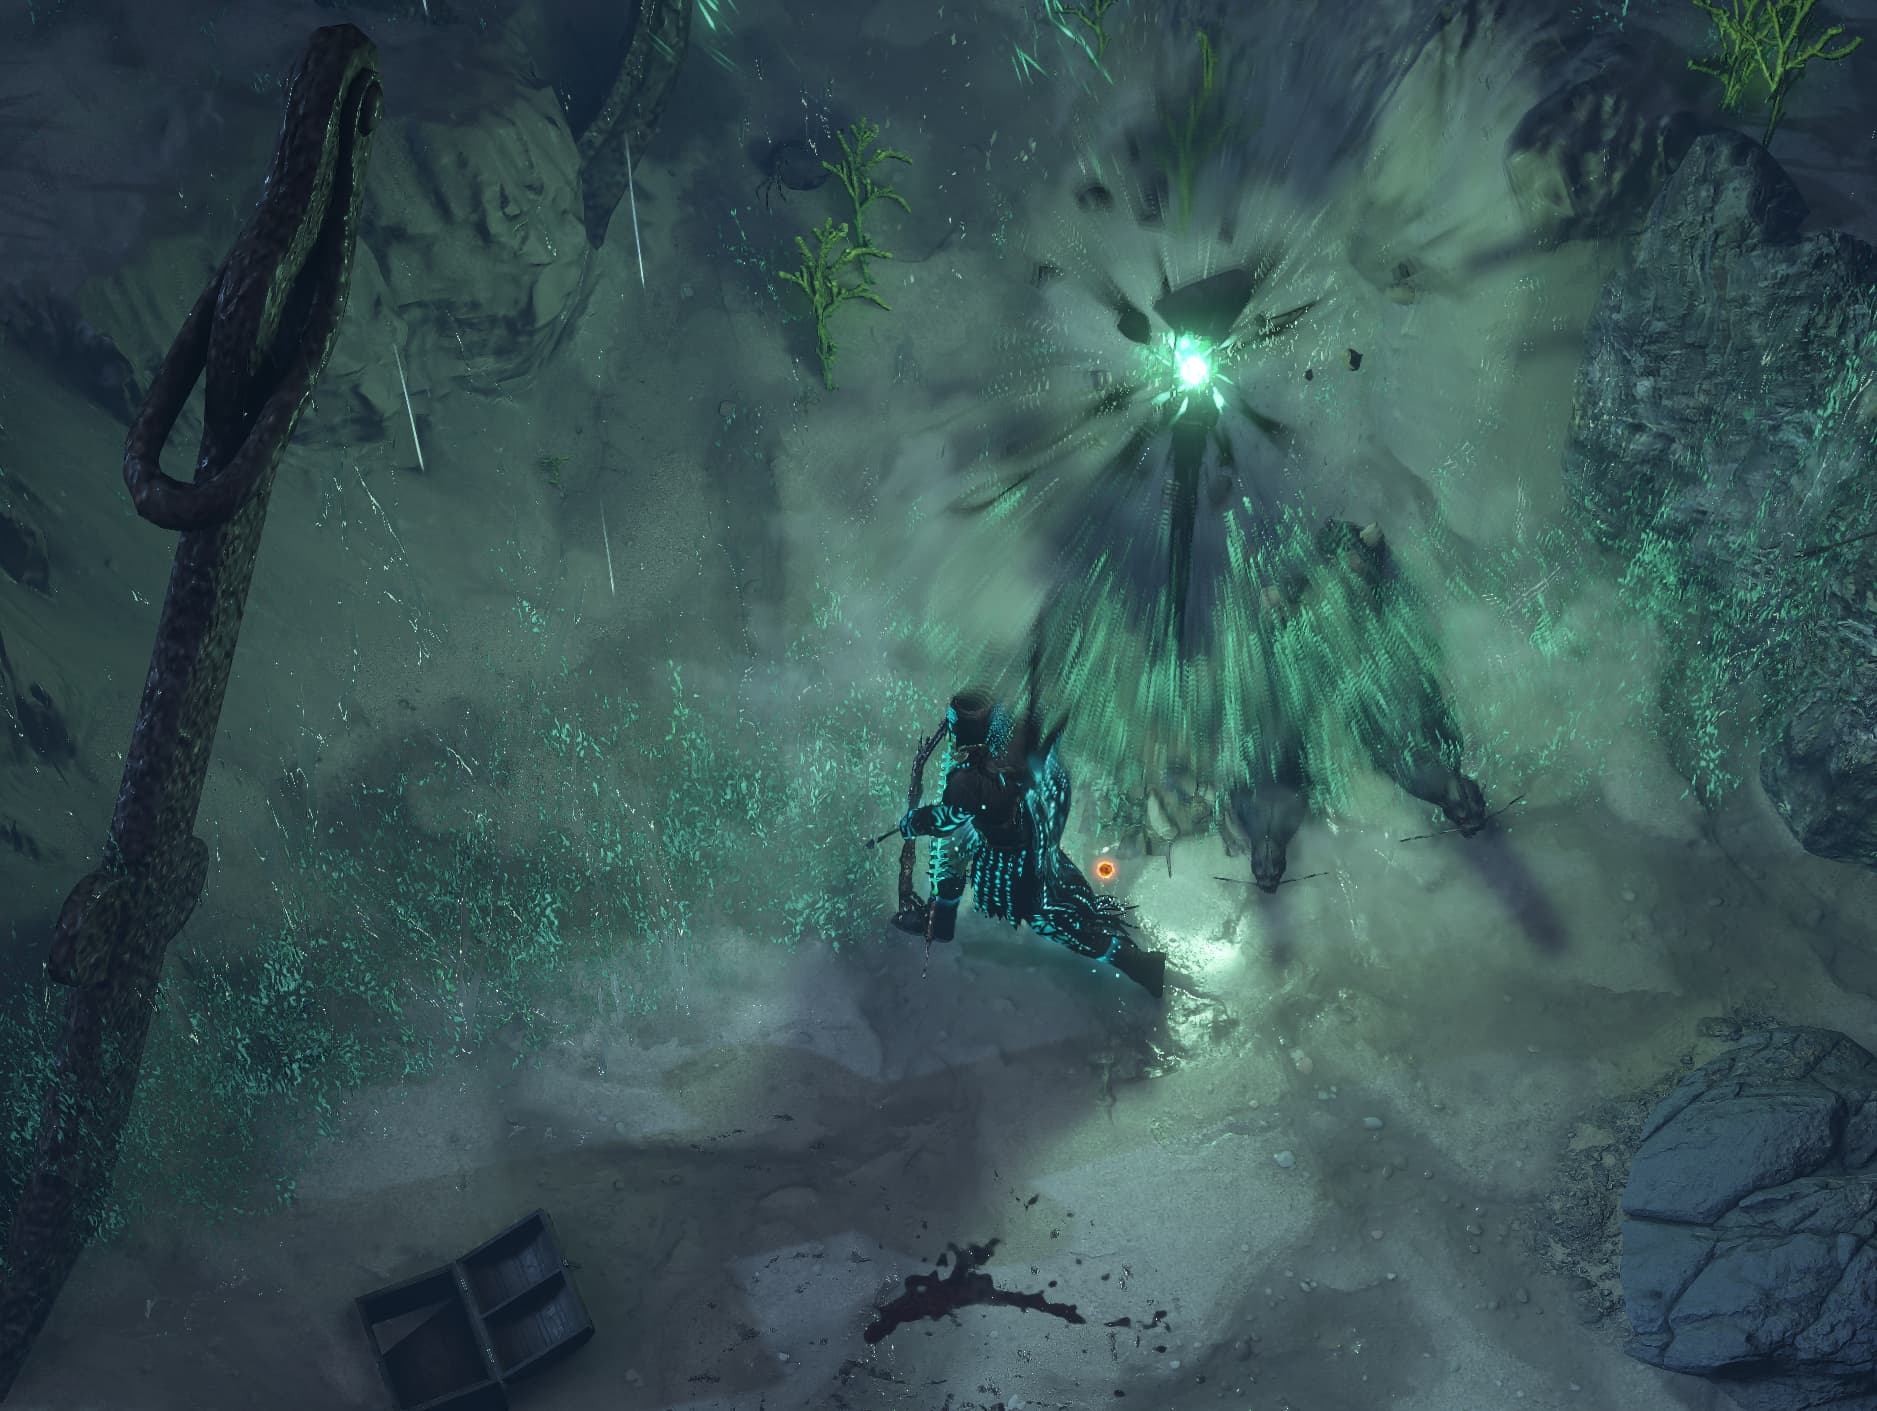
Each Chart or Voyage you do will supply you with a number of Allflame Lanterns. These Lanterns are what allow you to breathe underwater – creating safe zone bubbles around them where you can safely explore, kill, and loot.
The first lantern is automatically placed. To explore from there, you need to go to the edge of the bubble and place another lantern – creating an adjacent bubble and allowing you to explore further.
There is a setting you can enable with Valerie to automatically place a Lantern as soon as your character leaves the safety of a bubble – allowing players who want to speed-clear Charts and Voyages to do so without having to manually place many lanterns.
Upon placing the final Lantern, the Lanterns will begin flickering, and their safety zones will begin to collapse. During this time, you need to escape and return to the surface, or risk losing all of your items.
Drowning
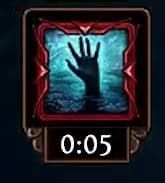
Whenever you leave the safe zone of an Allflame Lantern, your character will gain a Drowning debuff.
It’s unclear how exactly this works, but it appears to slow your character… and will likely kill you if you spend too long outside of safe areas.
It’s currently unclear whether or not it’s possible to dip outside of safe zones to open chests or interactables. If so… be careful that your greed doesn’t get you killed!
Underwater Loot
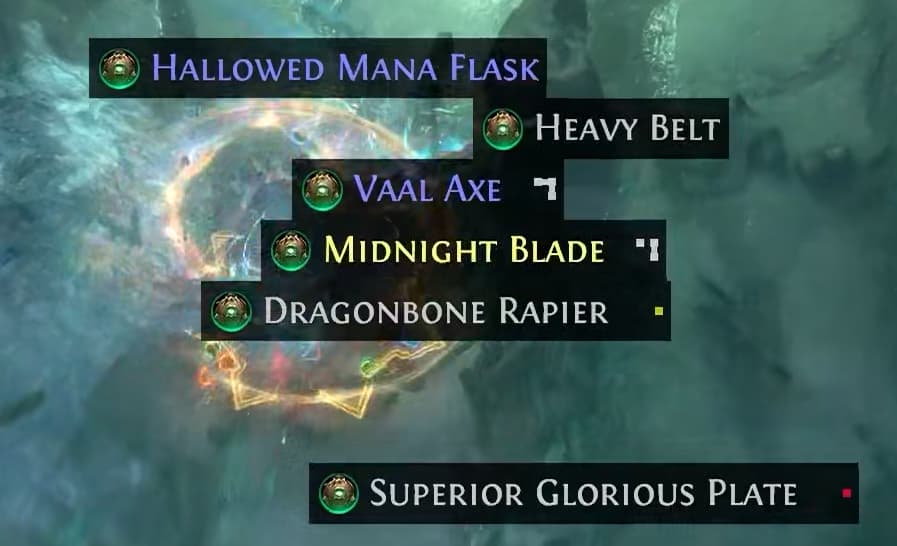
Items you collect while underwater will be lost if you fail to escape with them by dying. Be careful not to play too risky!
During Voyages, you can also make use of Capsules to send your loot back to the surface to safely bank them while you continue to explore.
Dead Man’s Sulphur
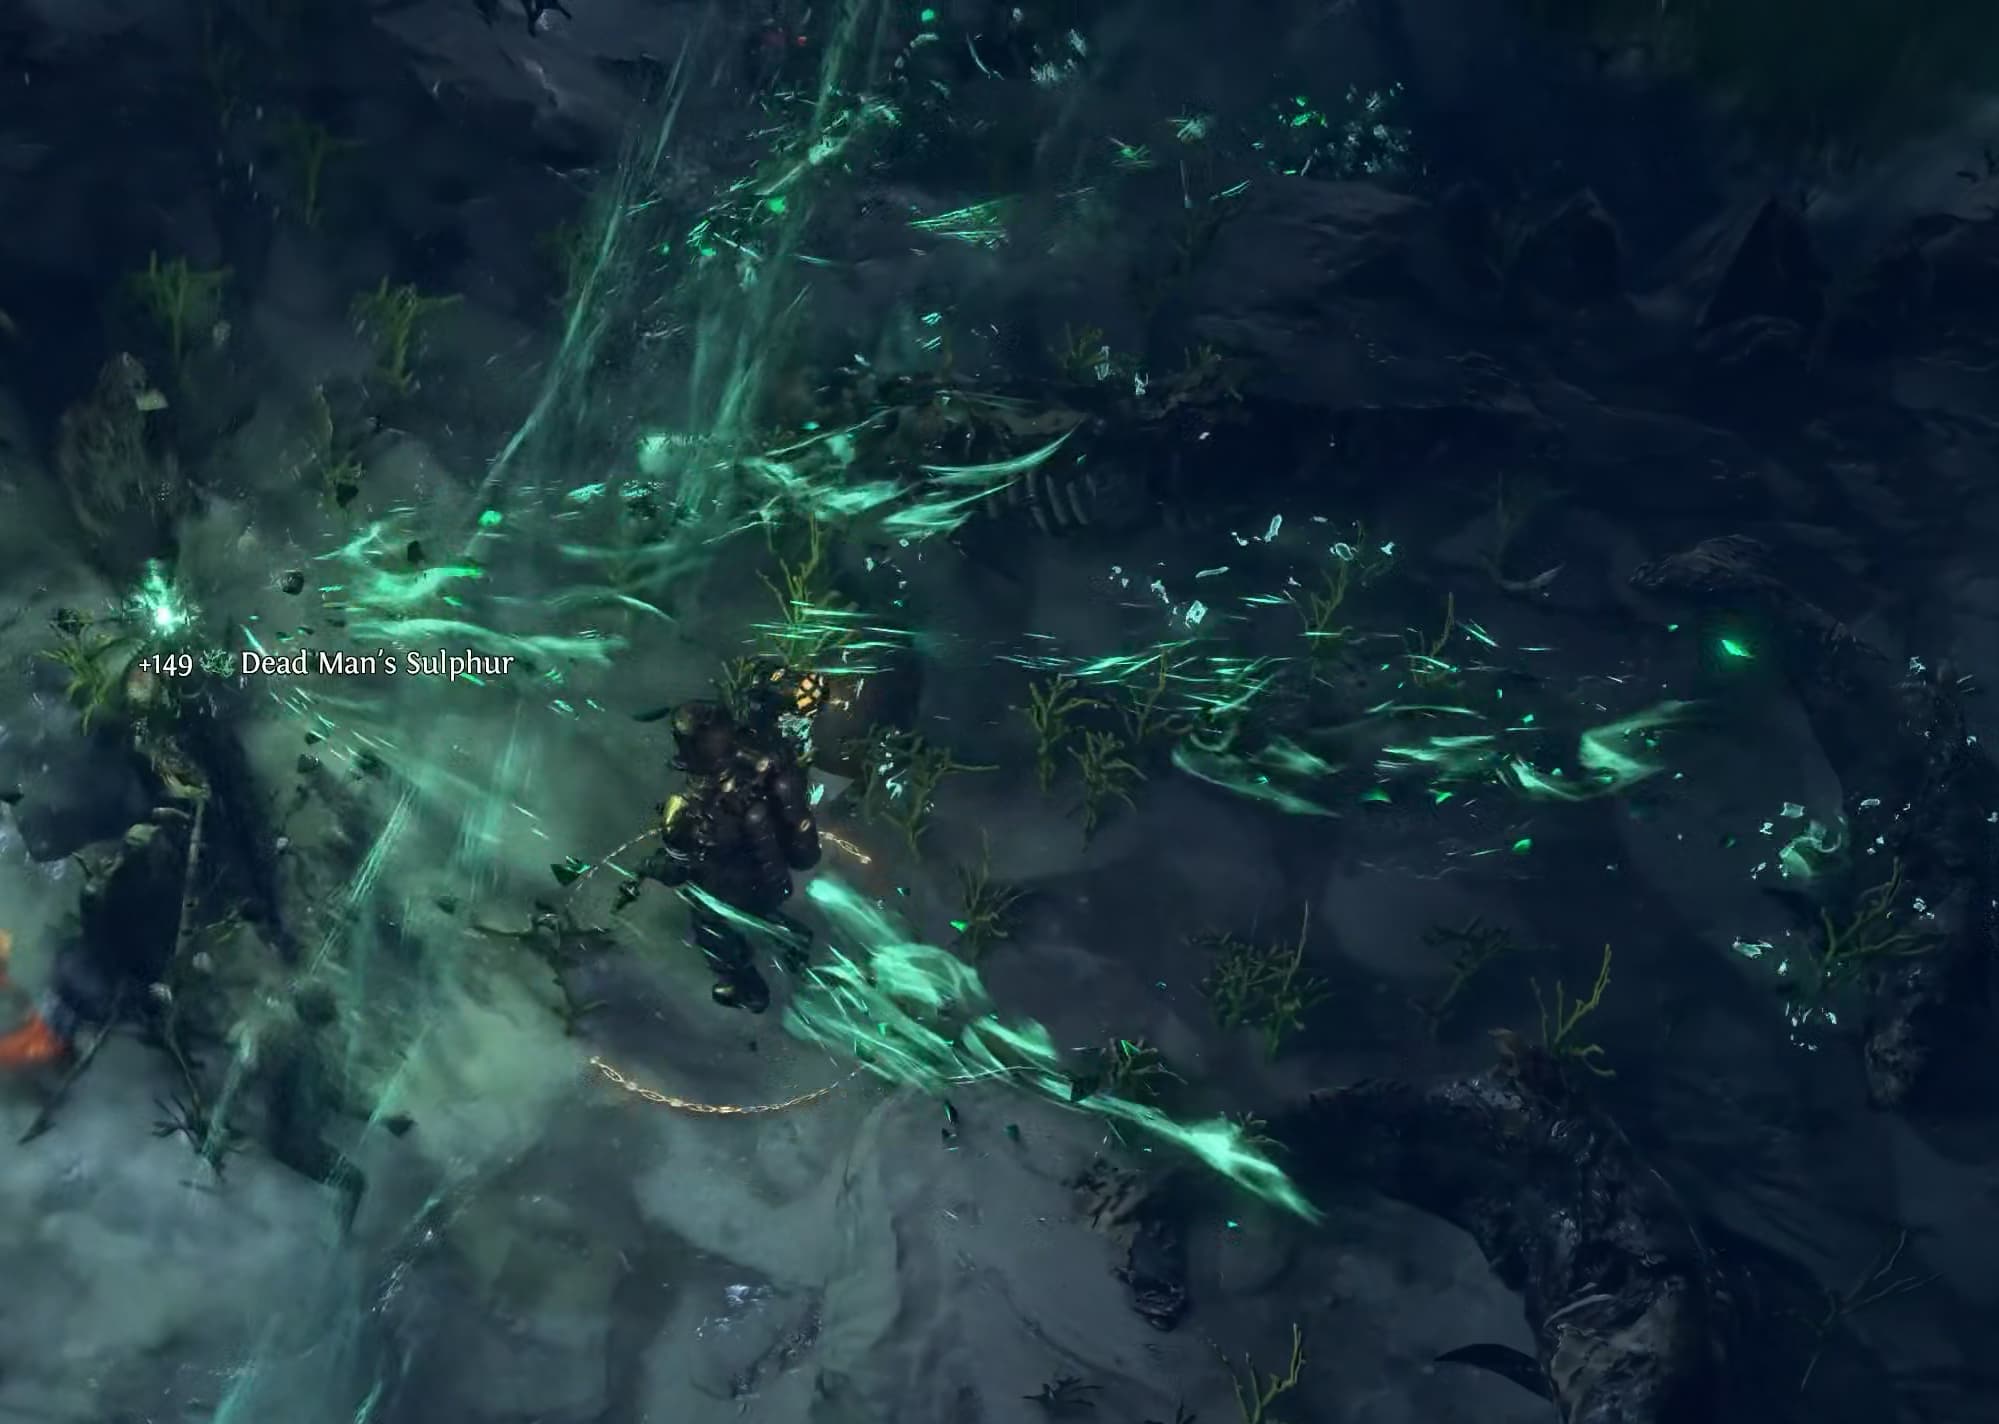
Whenever you place an Allflame Lantern while exploring underwater, any glowing coral within range will automatically be collected as Dead Man’s Sulphur.
This stackable, tradable currency is automatically deposited into your Chart Storage and is used for Allflame Crafting.
Sunken Objects
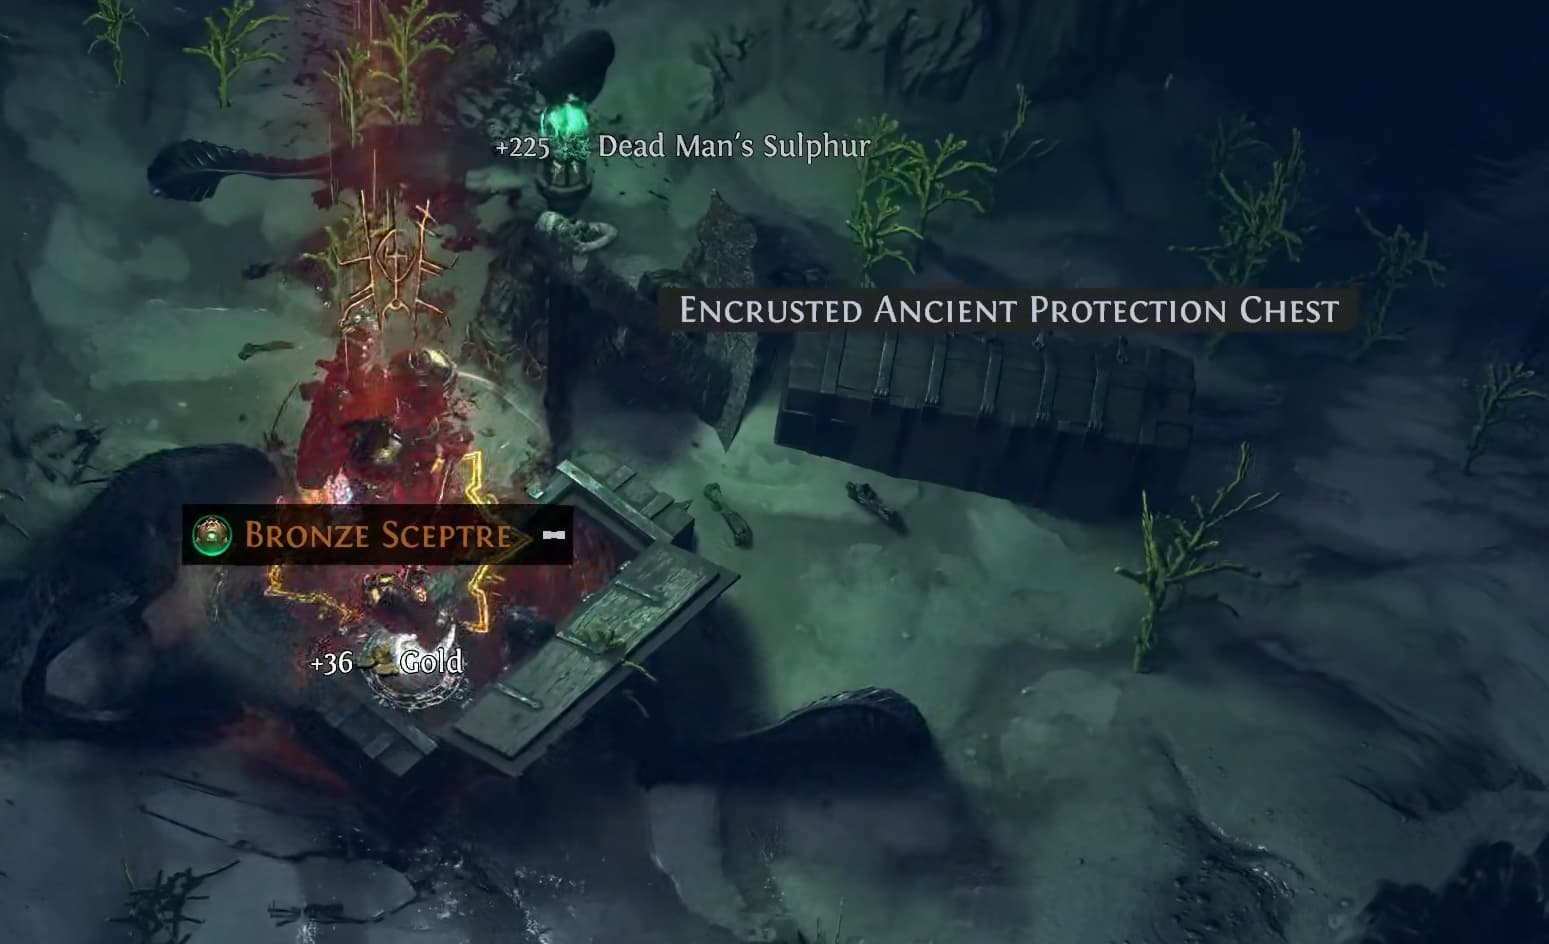
The depths are littered with all sorts of random Sunked Objects – ranging from League mechanics like Essences, to various chests.
Upon placing an Allflame Lantern, it will point to the closest Sunken Object upon being placed – be sure to follow them to their rewards!
Charts
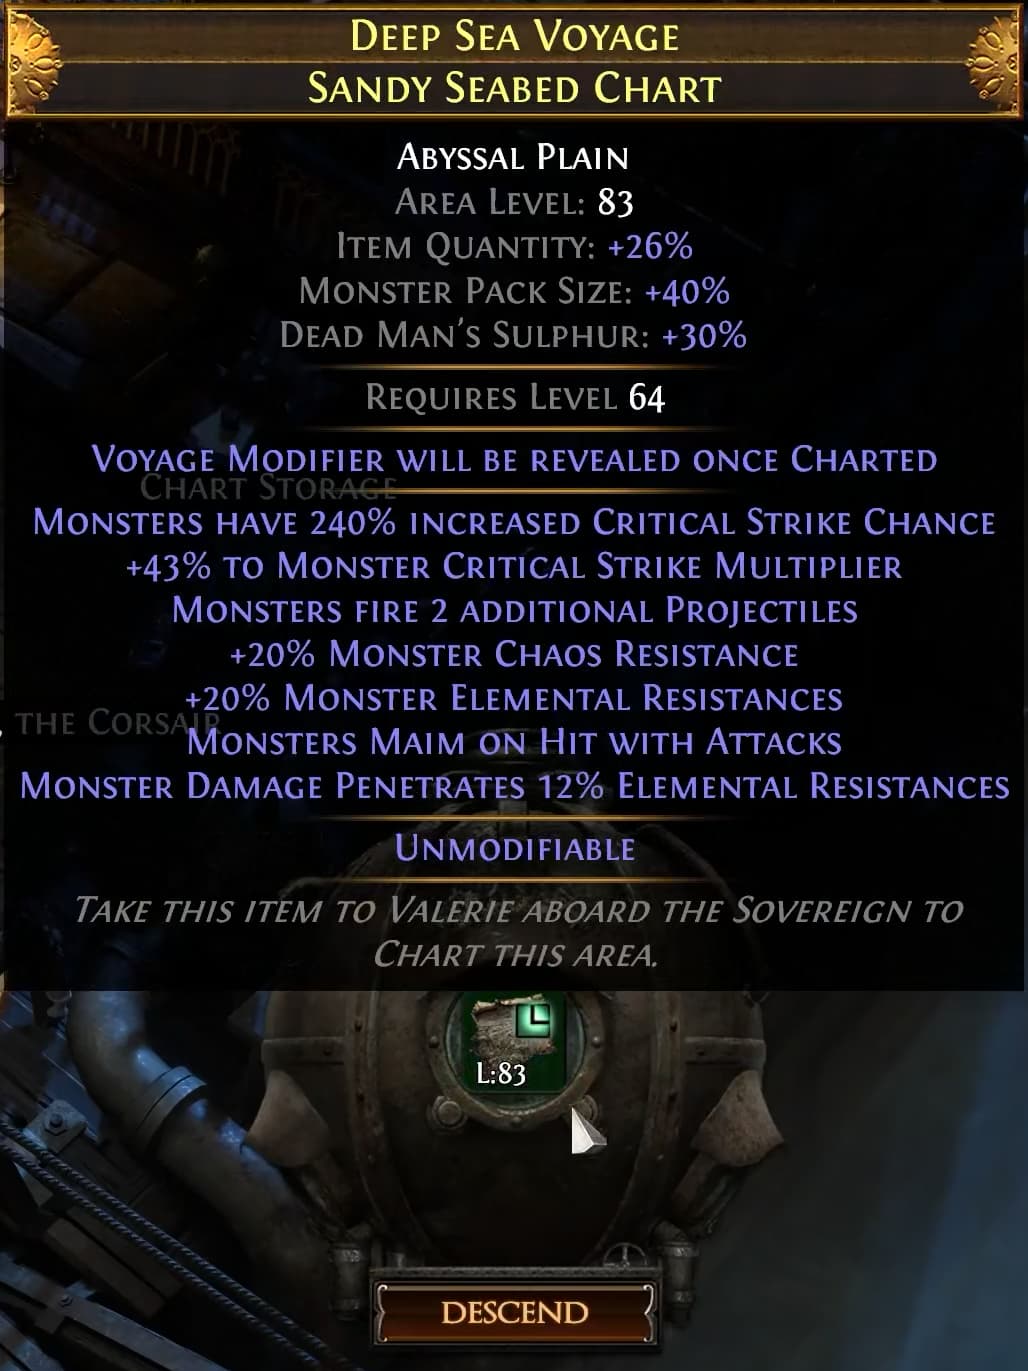
Each Cursed Treasure encounter you complete will award a random Chart. These charts can be used to descend to the depths and explore a small area with a small number of Allflame Lanterns.
These areas are very quick to complete, and will need to be completed a number of times in order to embark on a Voyage.
Charts can be traded with other players.
Escaping a Chart
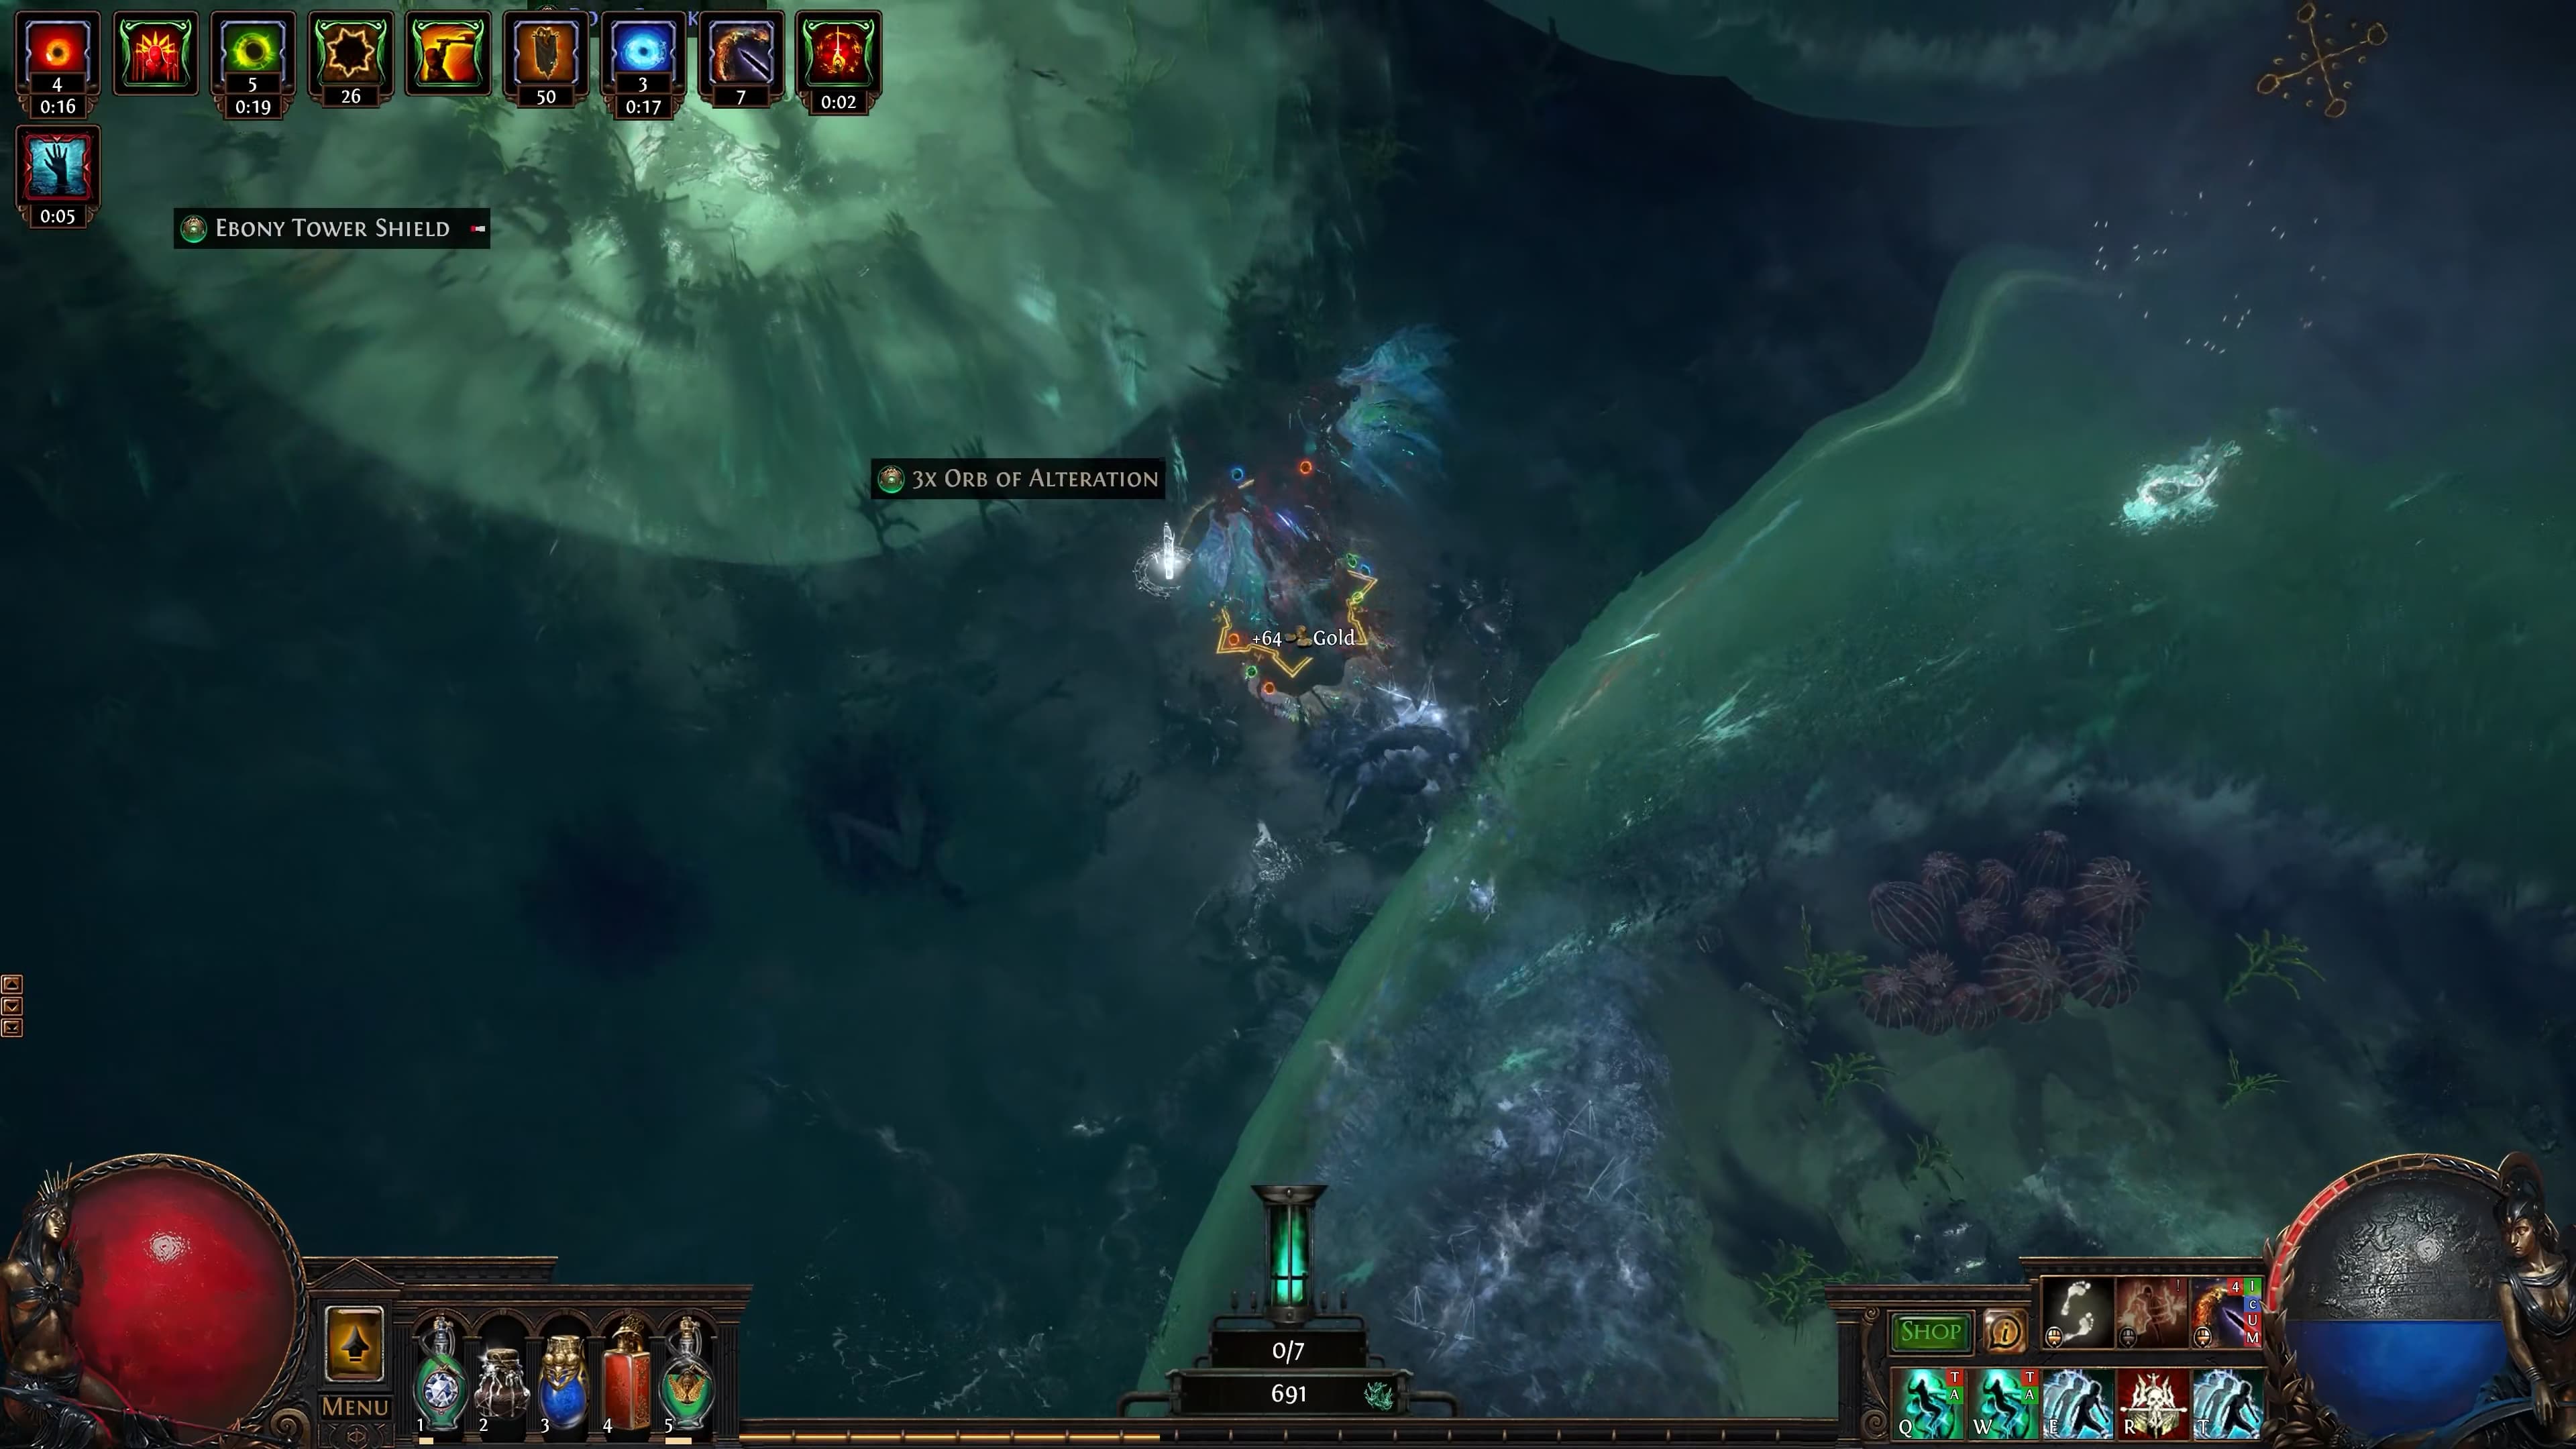
To escape a Chart upon placing the final Allflame Lantern, you need to return to the start of the Chart where you first submerged.
As Charts do not contain Capsules, failing to escape a Chart will result in you losing all of the loot you found in the area.
Charting the Area
Upon successfully escaping from a Chart, the Chart item will not be consumed – instead, it will be marked as “Charted”
Upon becoming Charted, the Voyage modifier’s implicit will be revealed. These Charts are used to embark on Voyages.
Voyages
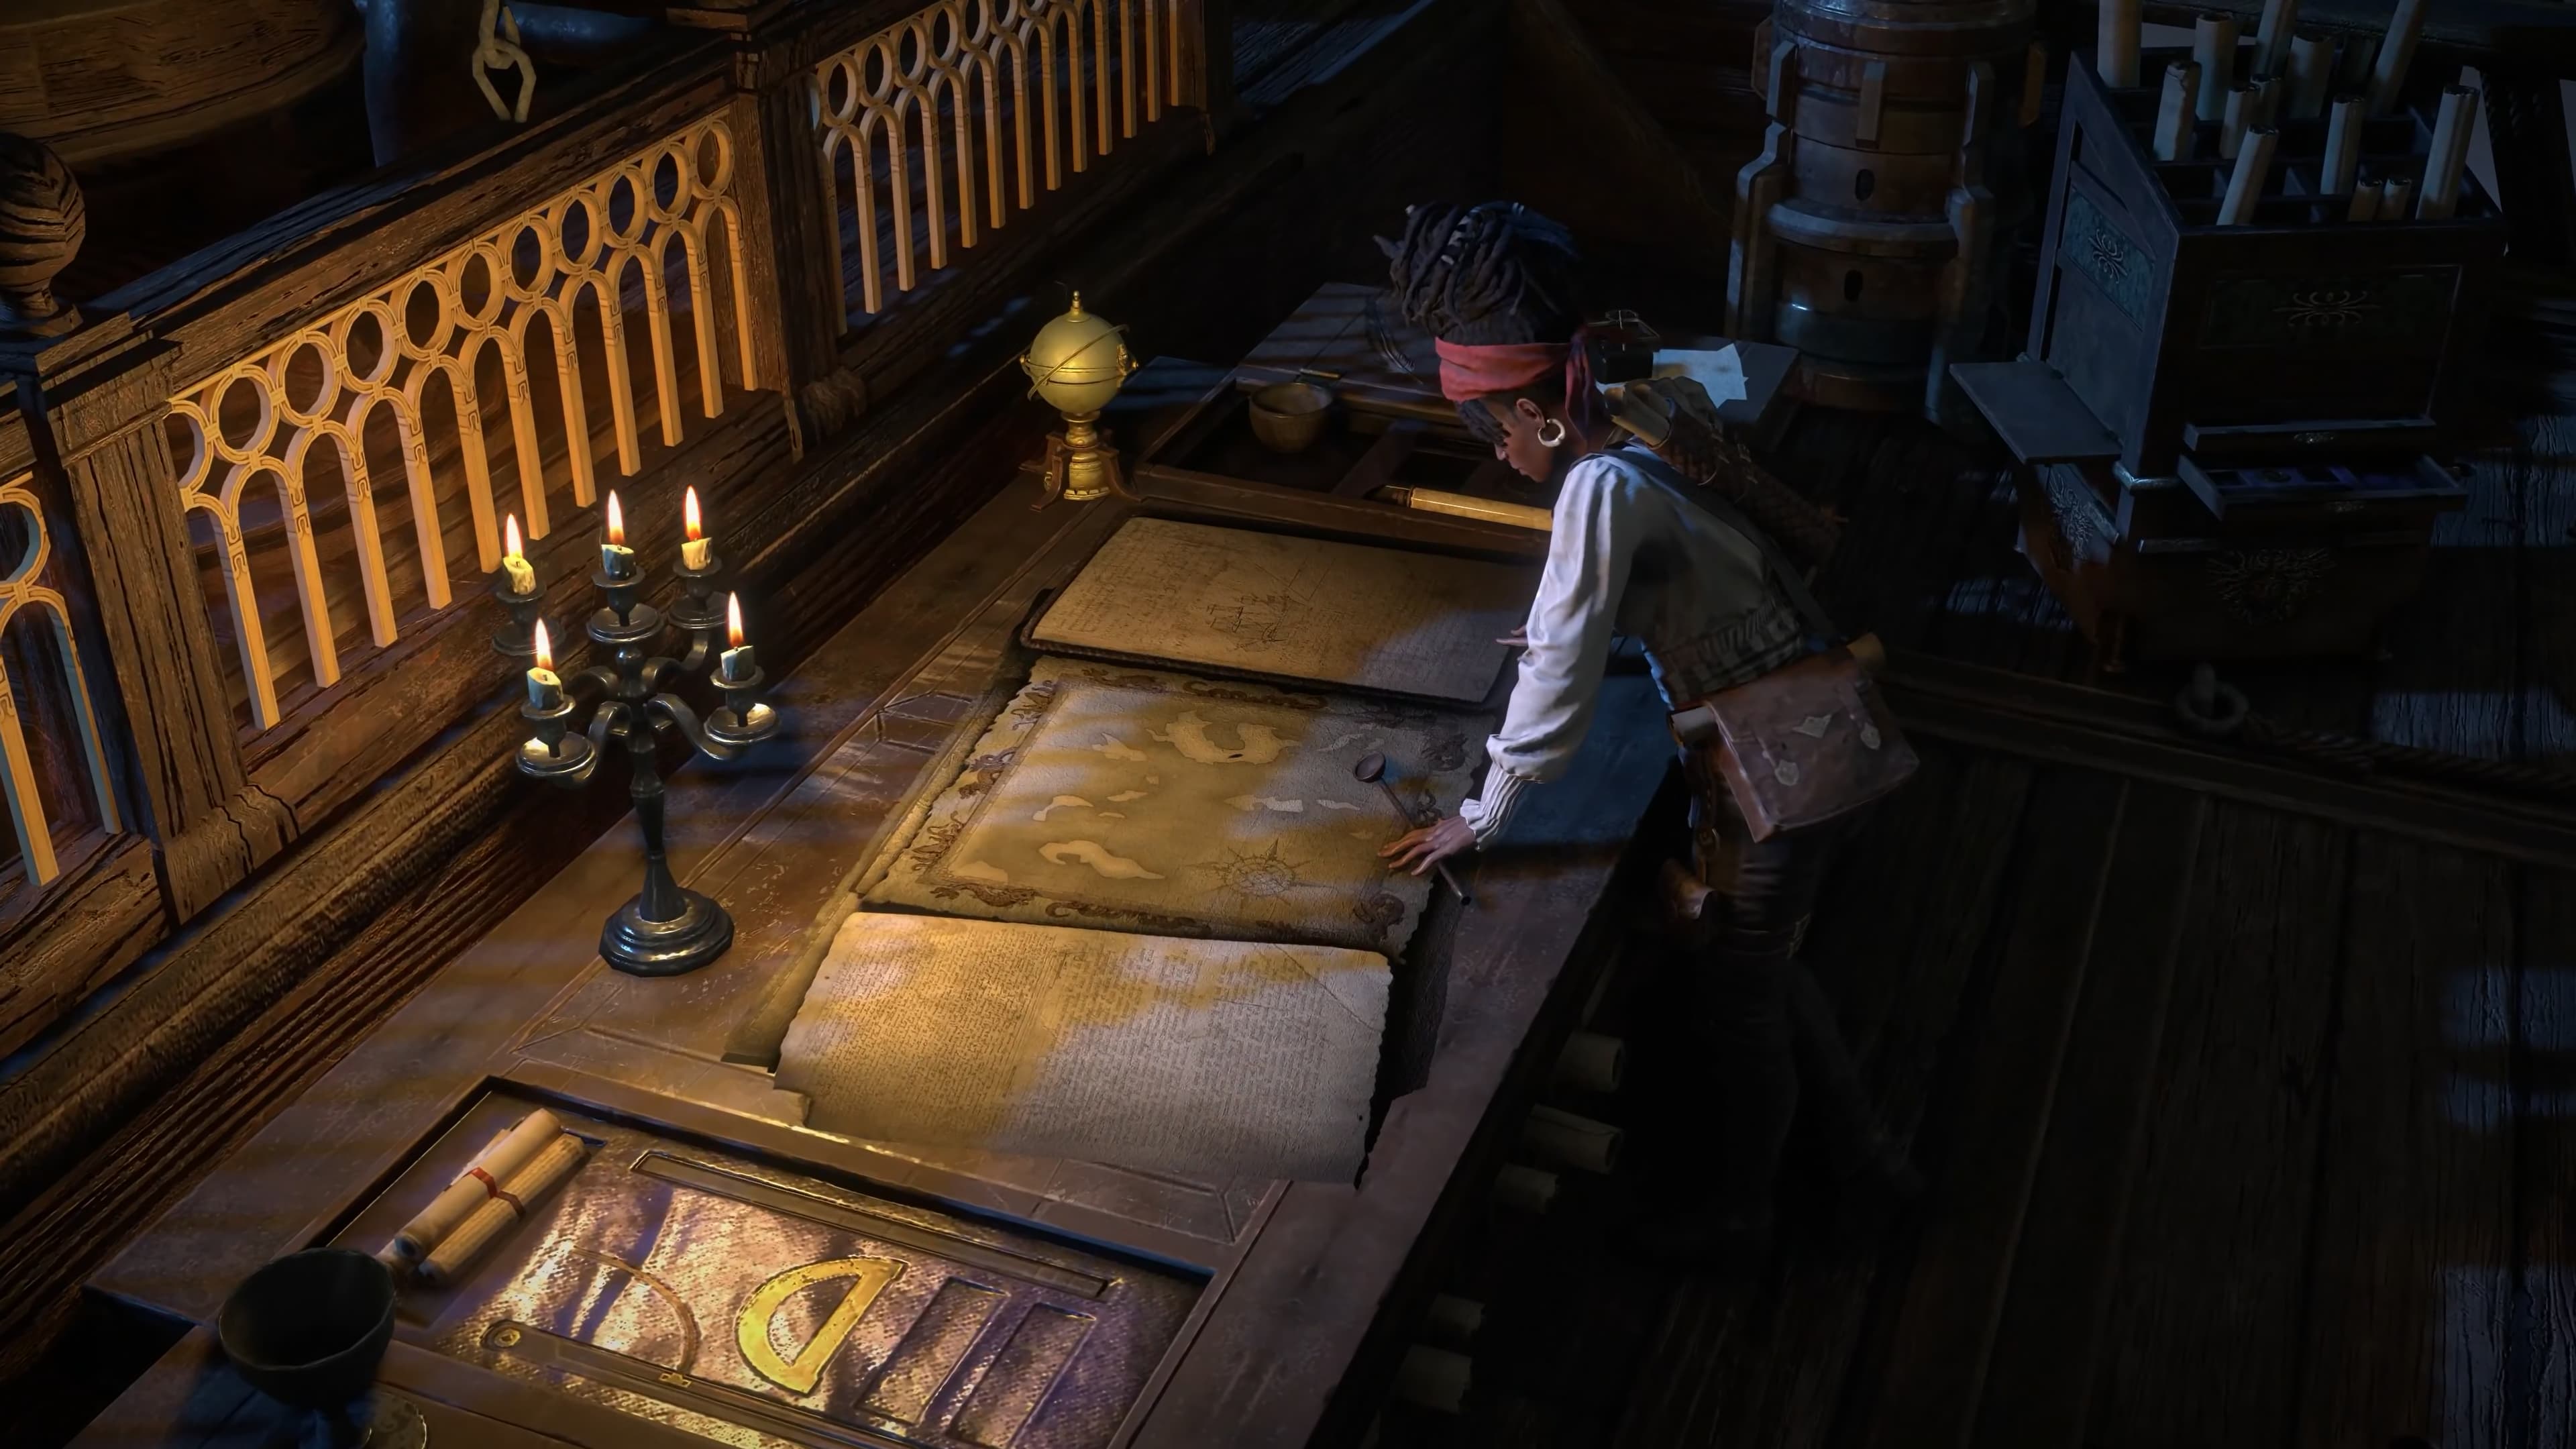
Once you’ve Charted at least 9 Charts, you can combine them to embark on a Voyage. A Voyage strings together 9 Chart areas into a very large explorable area with many Allflame Lanterns, and with modifiers massively juicing your rewards.
Voyage Board
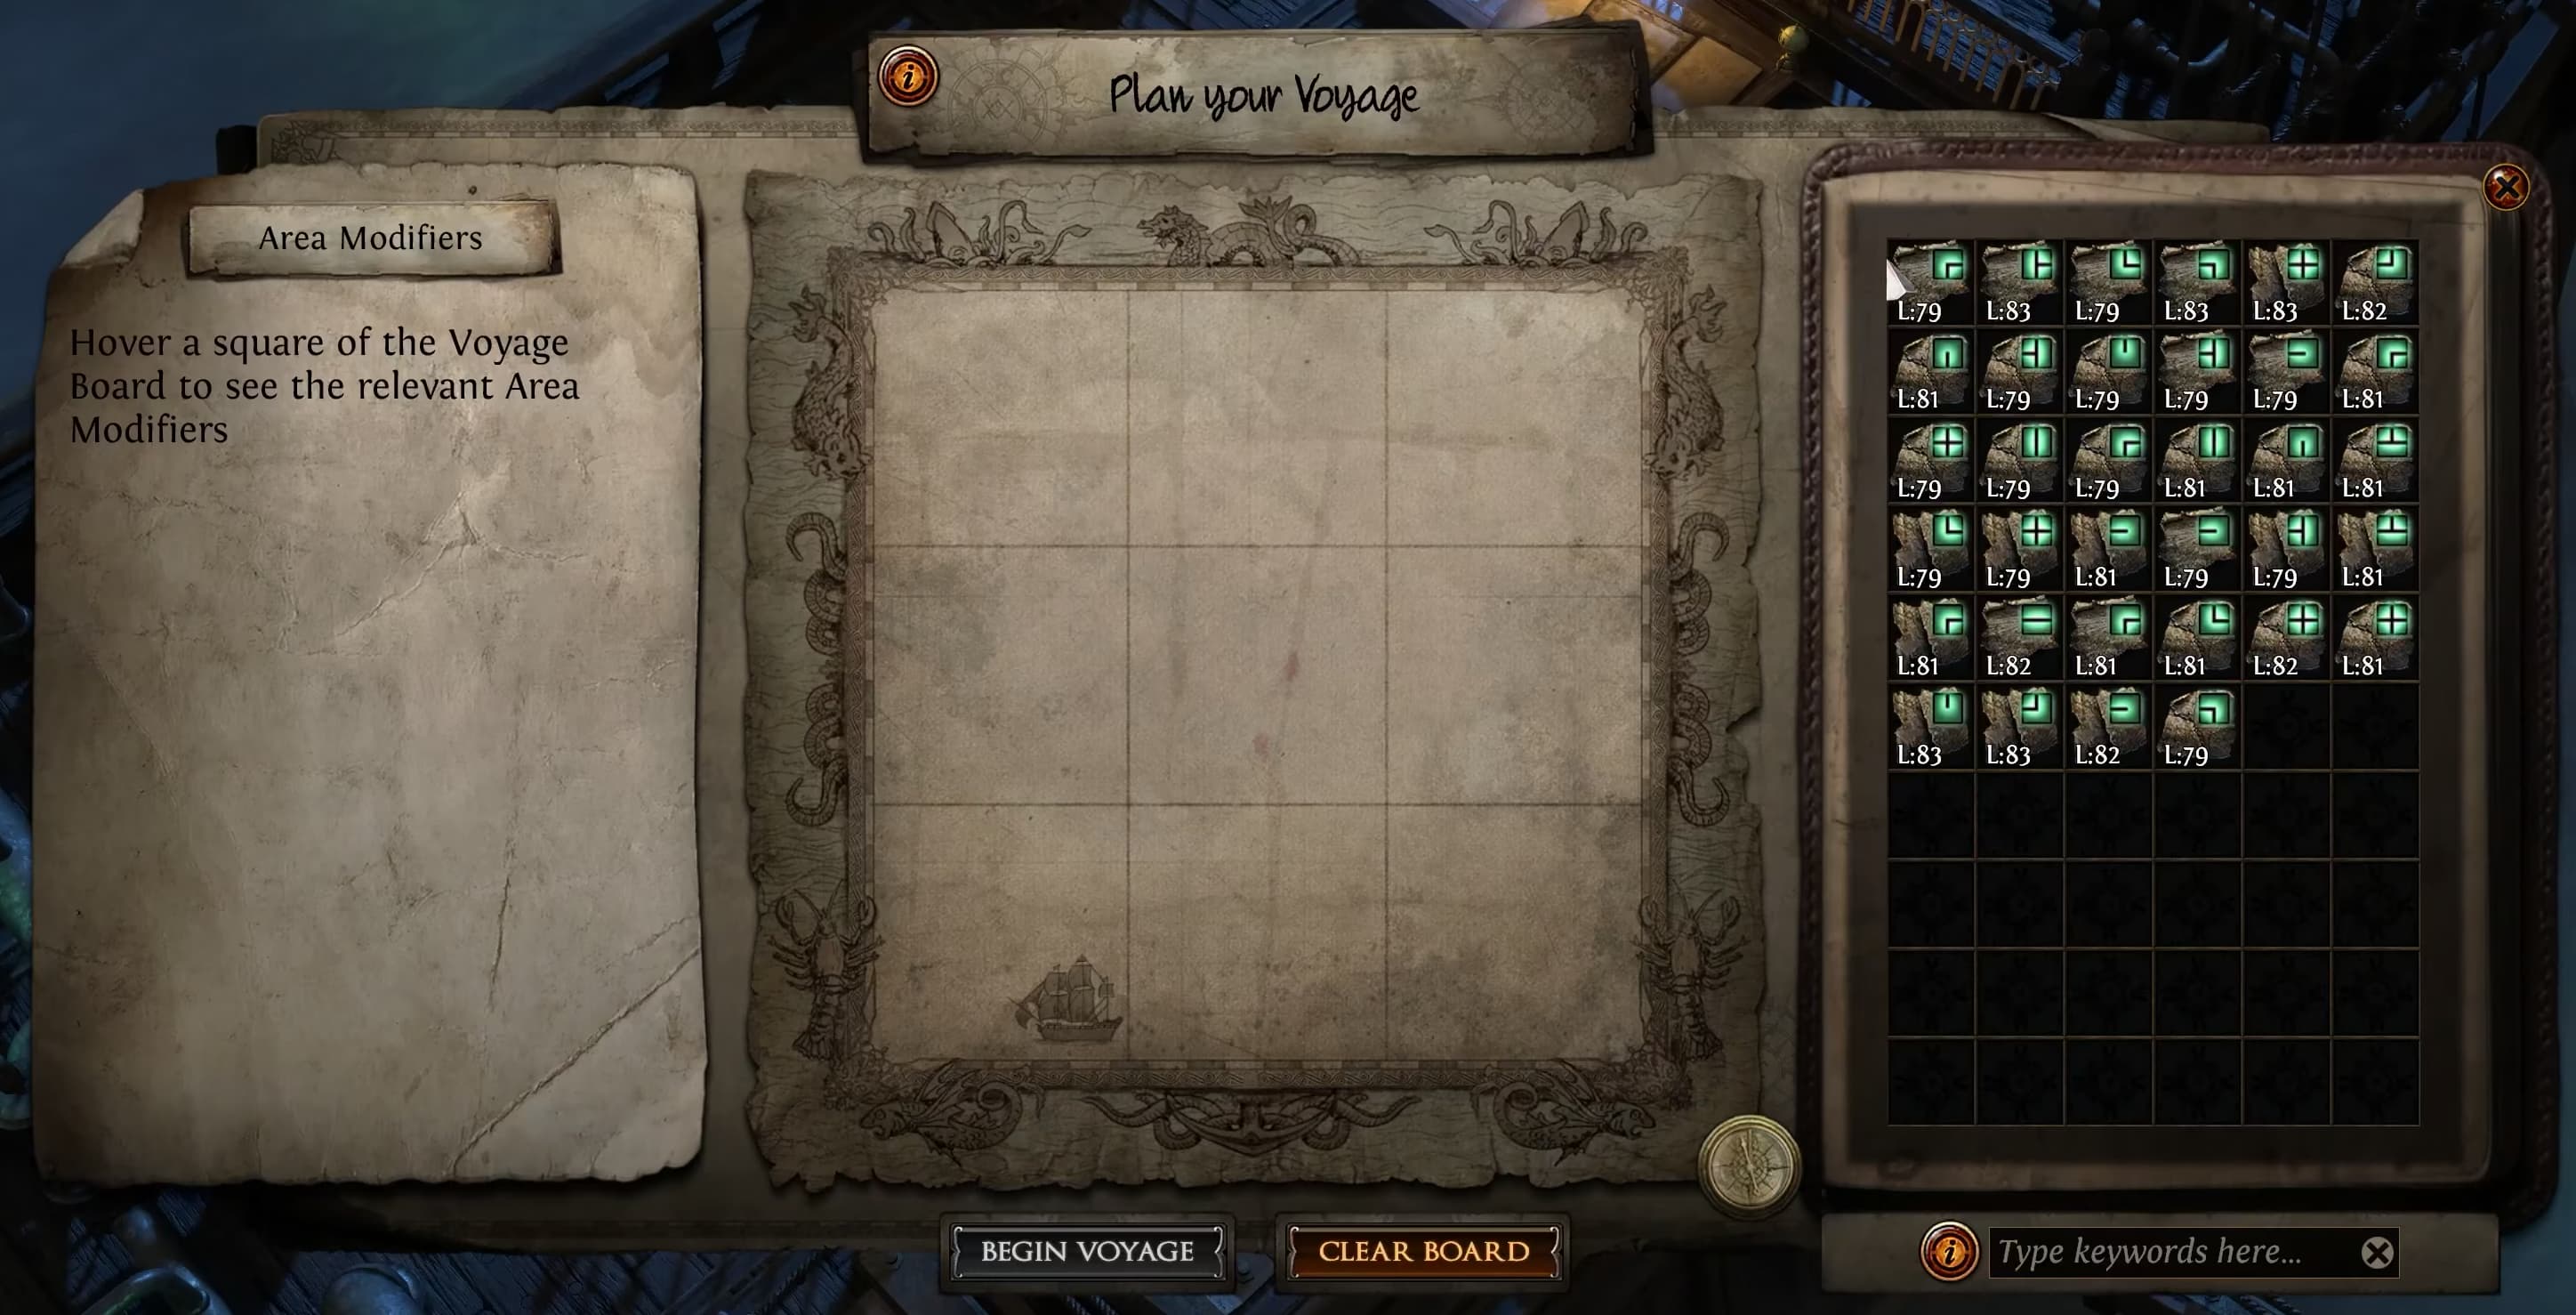
The Voyage Board is where you combine 9 charts in a 3×3 grid to assemble your Voyage area.
Each Chart has a Shape on it that shows how it connects to adjacent areas on the Voyage Board. The exact rules for connecting Charts is currently unknown, but it’s likely that all of your Charts need to connect to one another in order to start a Voyage.
Voyage Modifiers
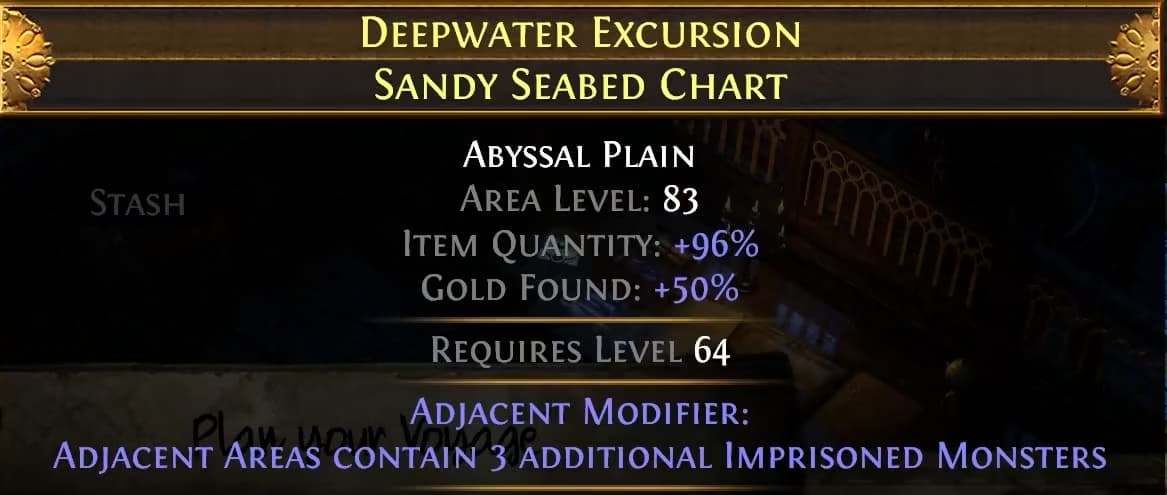
Each Charted Chart has a Voyage Modifier that affects your Voyage in some way. Some affect that Chart’s region in the Voyage, some affect adjacent Charts, while others affect the entire Voyage.
Special Areas

Some Charts are specially named areas, with unique rewards or encounters associated with them.
The only currently known named areas add a special Mercenary to the Charted area, and cause loot to be converted to gold.
Border Modifiers

The Borders of Voyage Board each adds modifiers to their adjacent areas. These modifiers are randomly chosen each time you complete a Voyage, and will likely influence the strategy of what Charts you choose to run when.
Completing higher area level Charts gives you access to higher tiers of Border Modifiers.
Allflame capsule
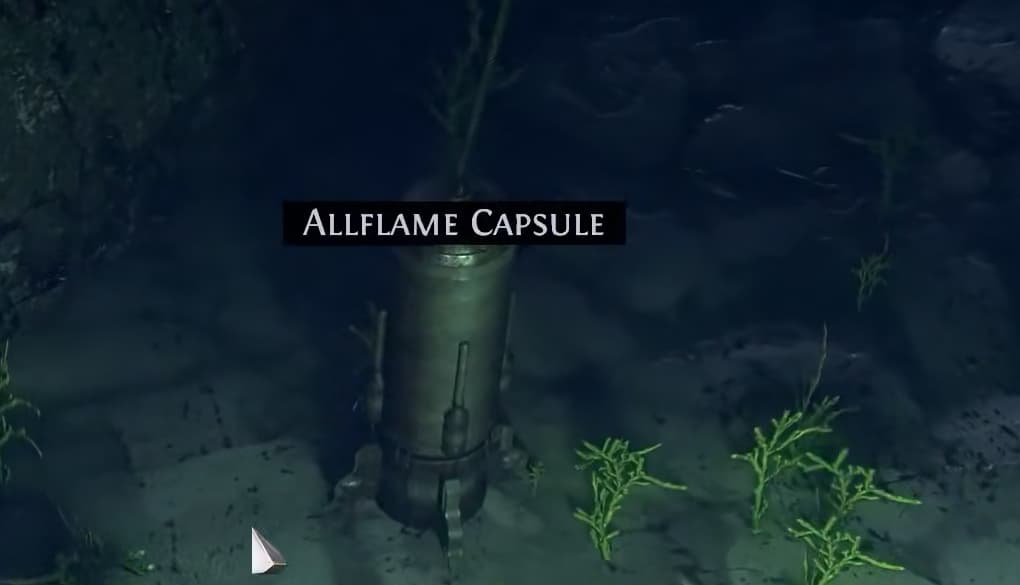
Since Voyages are so large and contain so much loot, Voyages have a mechanic for letting you send loot back before you’ve finished the Voyage.
Each Chart will contain an Allflame Capsule – these Capsules can be filled with loot, and then sent back up to the surface. This lets you collect multiple inventories of loot, and also lets you safely bank valuable items without risking losing them.
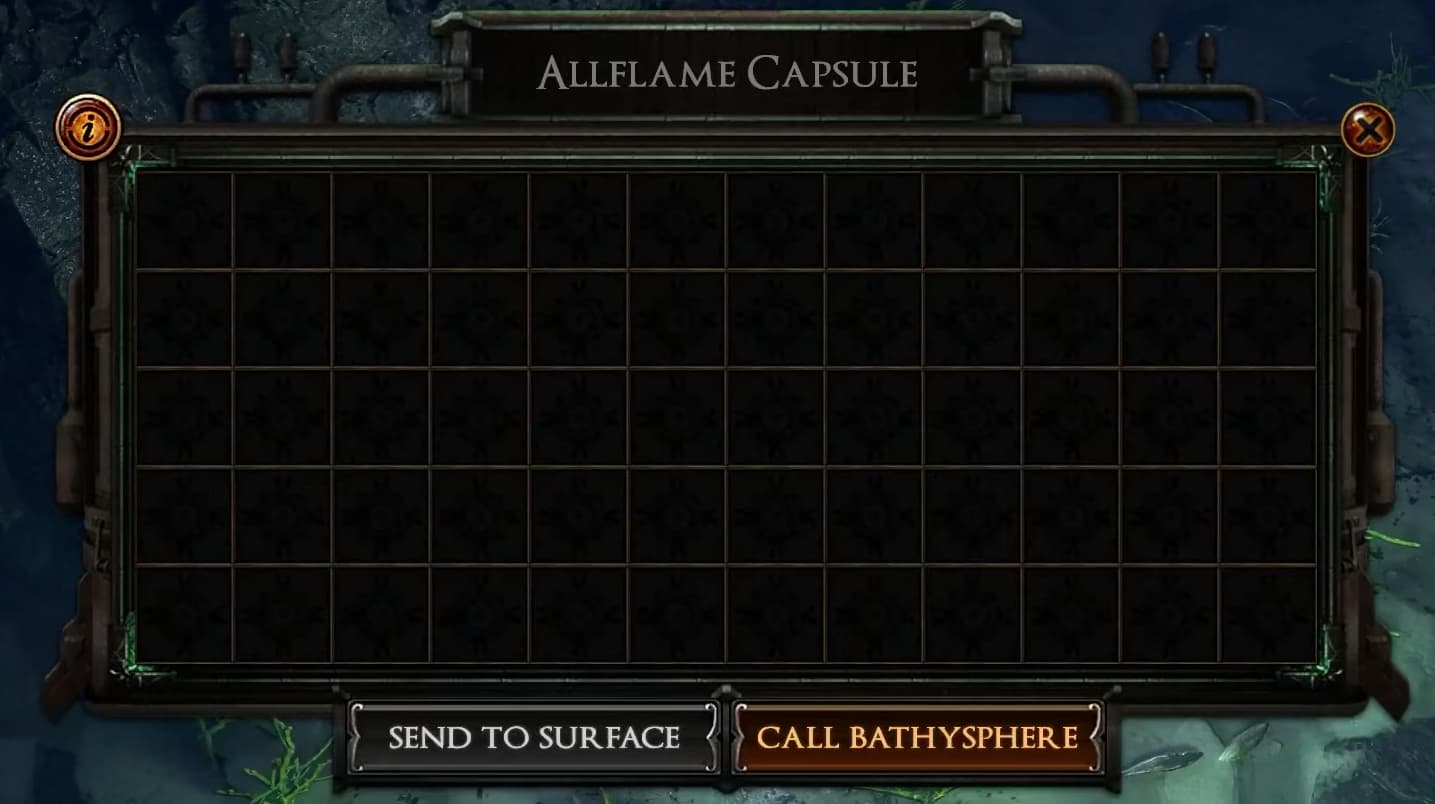
Once you surface, your loot can be obtained from the chest labeled “Collect Loot” on the boat.
Escaping a Voyage
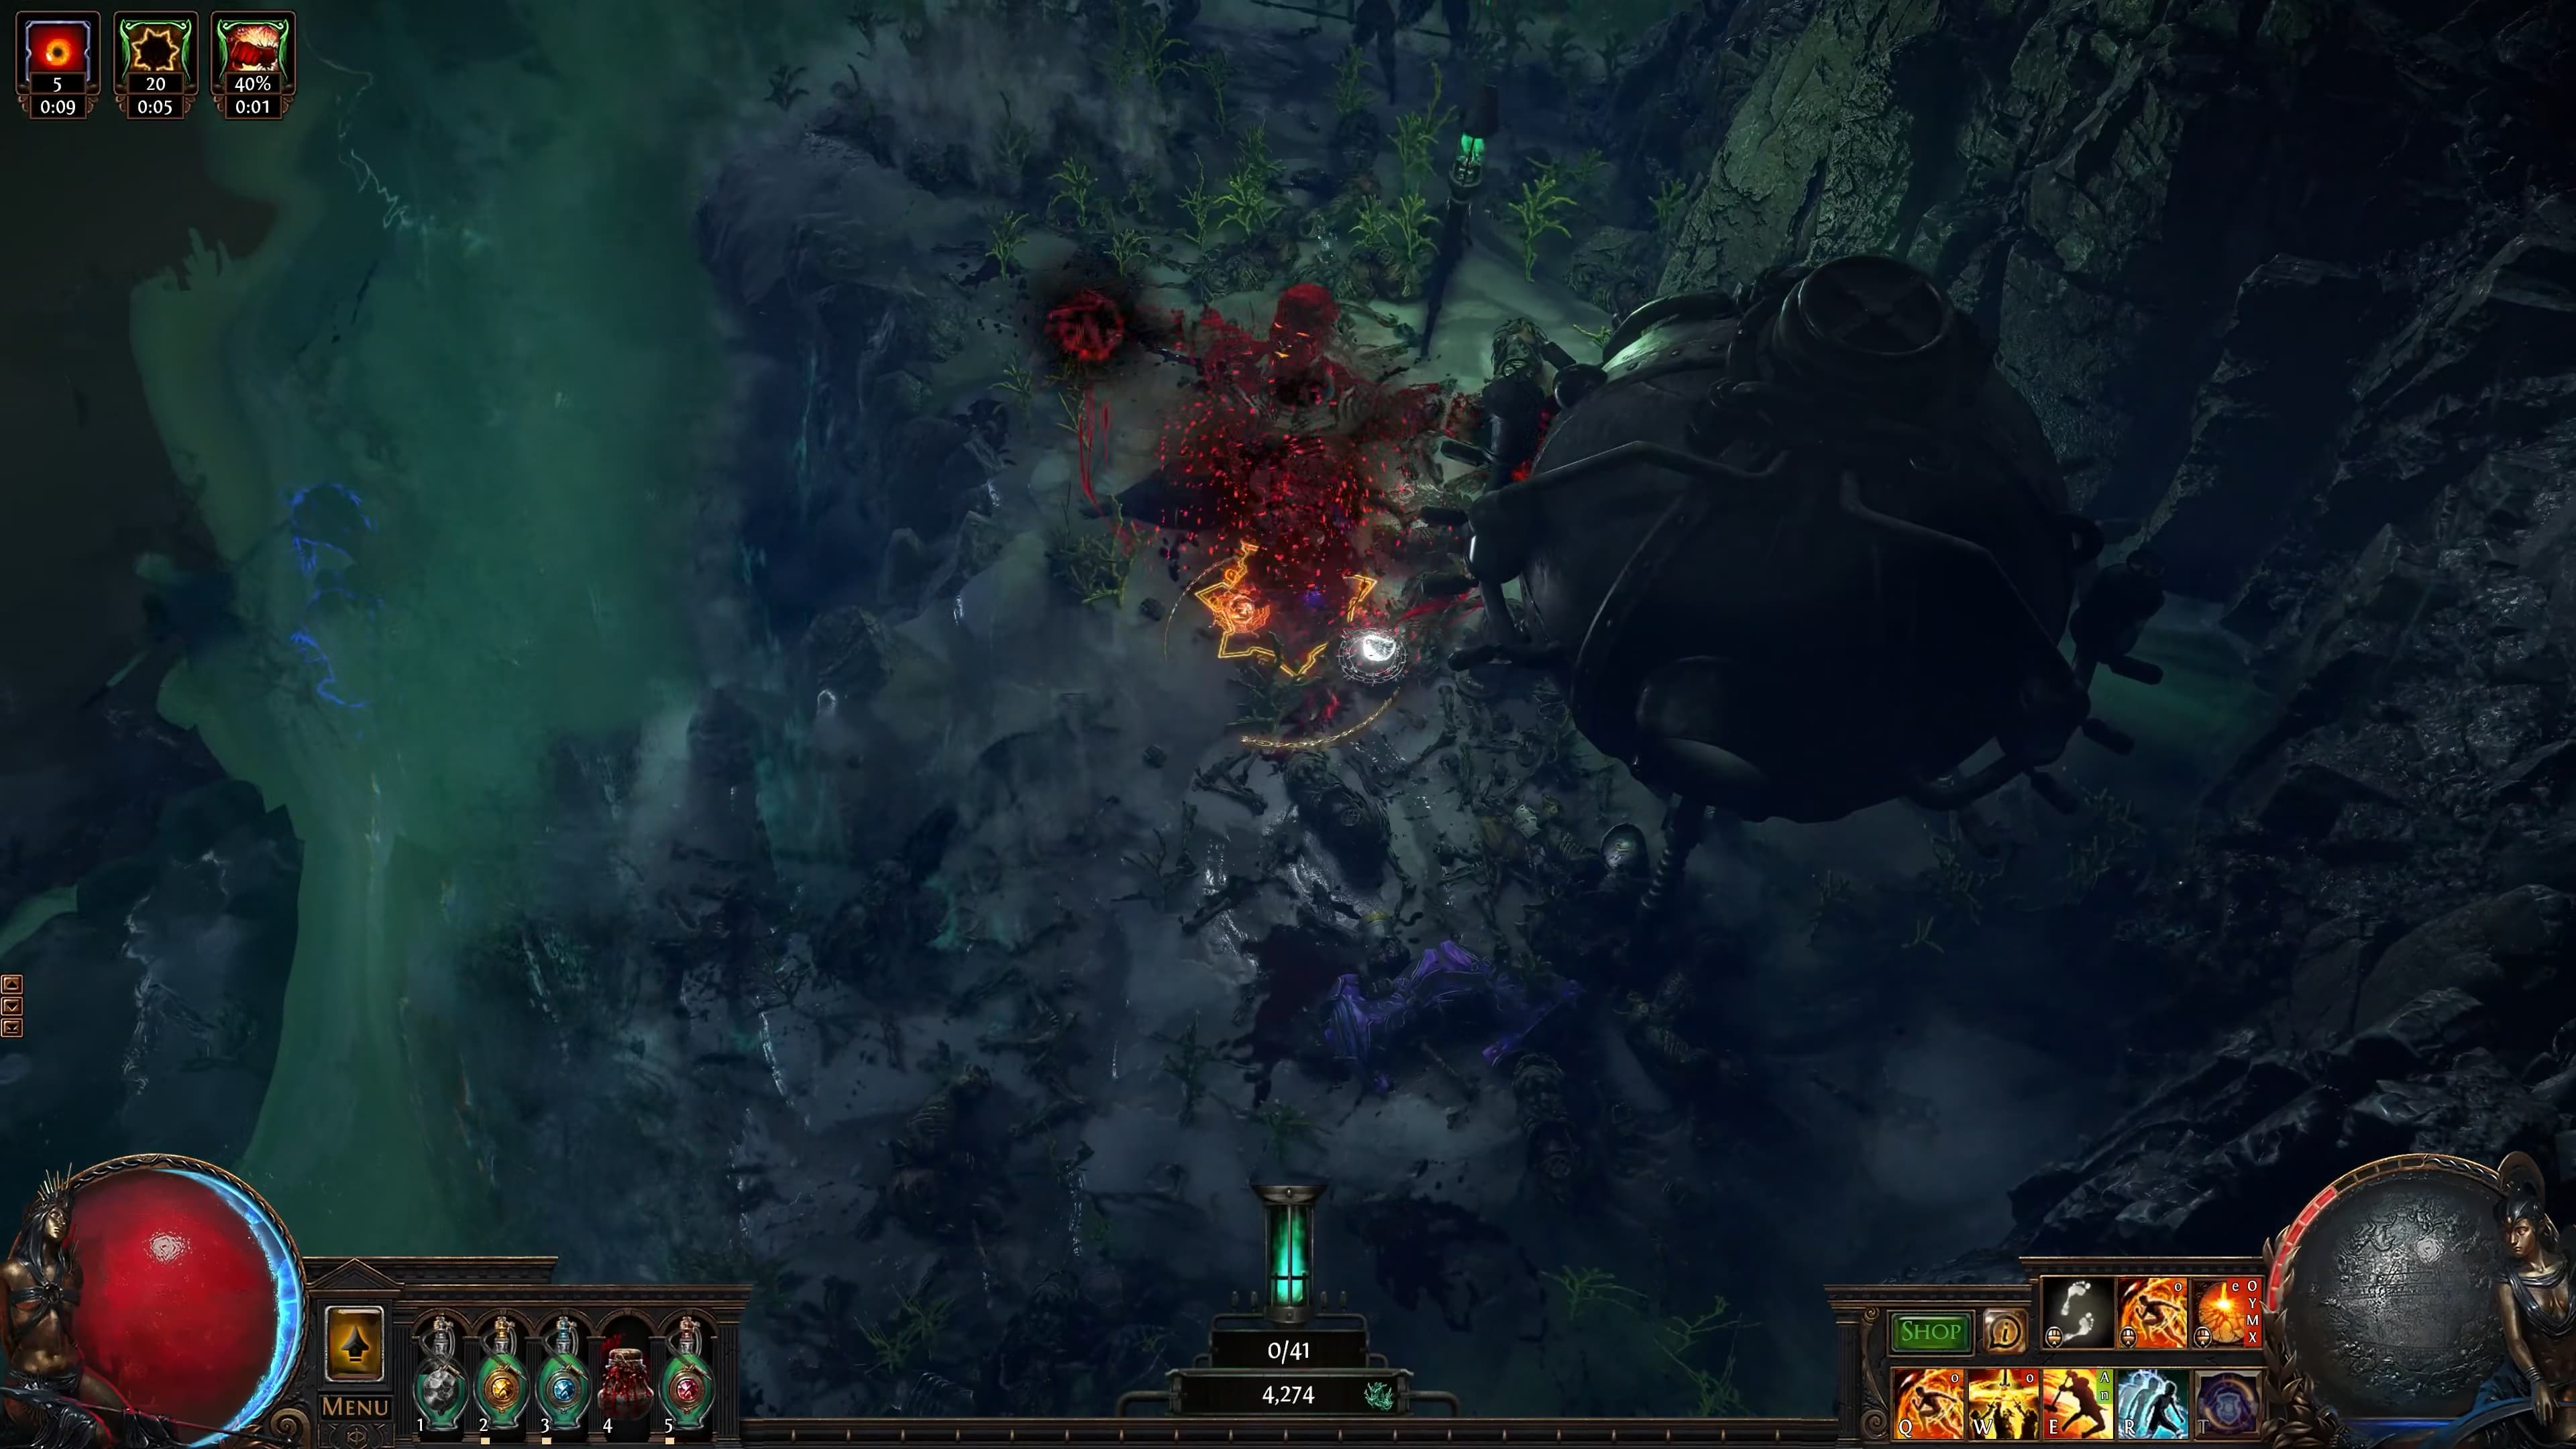
Escaping a Voyage is slightly different from escaping a chart. Upon placing the final Lantern, you will need to race to call down a Bathysphere – located in the center of each Chart.
The Bathysphere won’t descend instantly – and while it slowly descends, you will need to fight monsters and survive until it reaches you.
Allflame Crafting
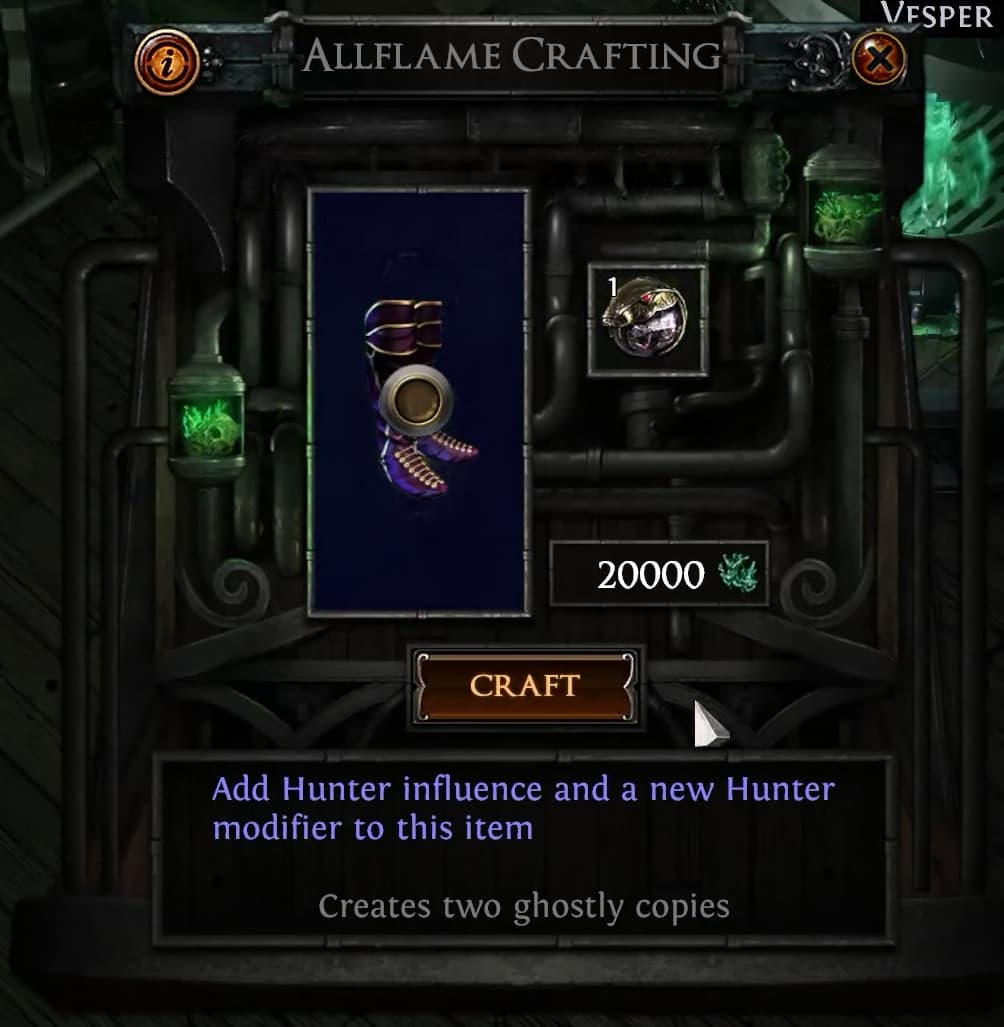
Allflame Crafting allows you to foresee several ghostly copies of a crafting currency – and choose the ghostly copy you want to make real. While incredibly powerful, this crafting method comes with a cost – large quantities of Dead Man’s Sulphur.
The number of ghostly copies you see depends on the crafting method you’re using – ranging from as few as 2 ghostly copies, to as many as 4 ghostly copies
Restricted Currencies
Most crafting currency in the game can be used with Allflame Crafting, with a few exceptions:
- Currencies that result in multiple items cannot be used (such as a Mirror of Kalandra or Reflecting Mist)
- Vaal Orbs cannot be used
Intangibility
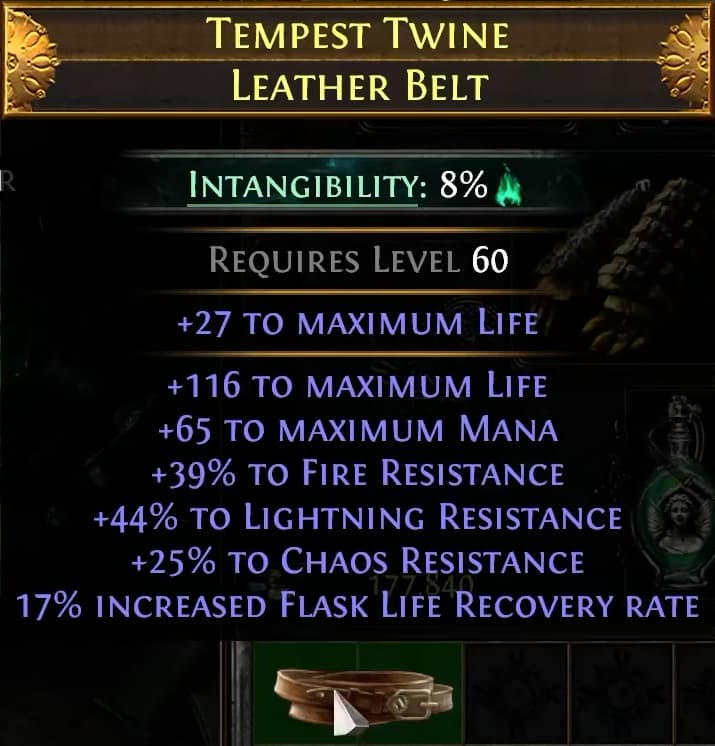
Items that are crafted via Allflame Crafting will gain an amount of Intangibility. The amount gained appears to be random within a range, depending on the craft, with more powerful crafts granting more Intangibility.
Intangibility is shown as a percentage, and causes any further Allflame Crafting on that item to have that % chance to only show you one Ghostly Copy. This adds an amount of risk to continuing to use Allflame Crafting on the same item.
Intangibility is tied to the base item. This means that it will be carried over if chosen as the base in recombination, but will not when creating a new base item via an Awakener’s Orb.
Ducats
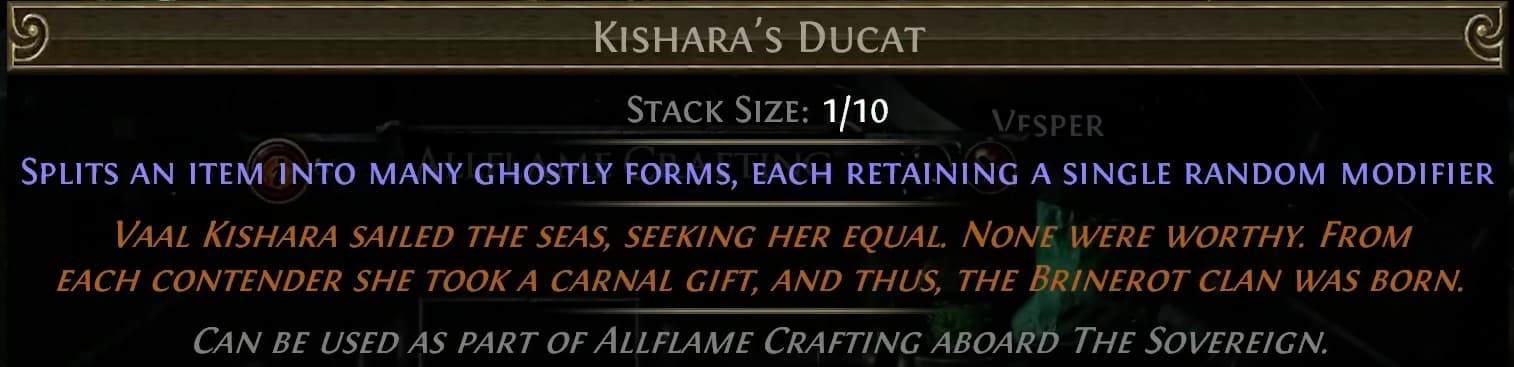
Ducats are a new crafting currency obtained via Curse of the Allflame content. Ducats are used exclusively as the currency item in Allflame Crafting, providing new crafting options that are not available via any other form of crafting.
Conclusion
Be sure to check out the other pages of this guide, covering even more topics related to Curse of the Allflame! This guide will continue to be updated in the future – if you have any feedback or find something cool you want to share, head on over to the PoE Vault Discord, and let me know!
Good luck, and have fun farming Curse of the Allflame!