 Druid
Druid Oracle
 Shaman
 Huntress
 Amazon
 Ritualist
 Spirit Walker
 Mercenary
 Gemling Legionnaire
 Tactician
 Witchhunter
 Monk
Monk Acolyte of Chayula
 Invoker
 Martial Artist
 Ranger
 Deadeye
 Pathfinder
 Sorceress
 Chronomancer
 Stormweaver
 Disciple of Varashta
 Warrior
 Smith of Kitava
 Titan
Titan Warbringer
 Witch
Witch Blood Mage
 Infernalist
 Lich
Lich Abyssal Lich
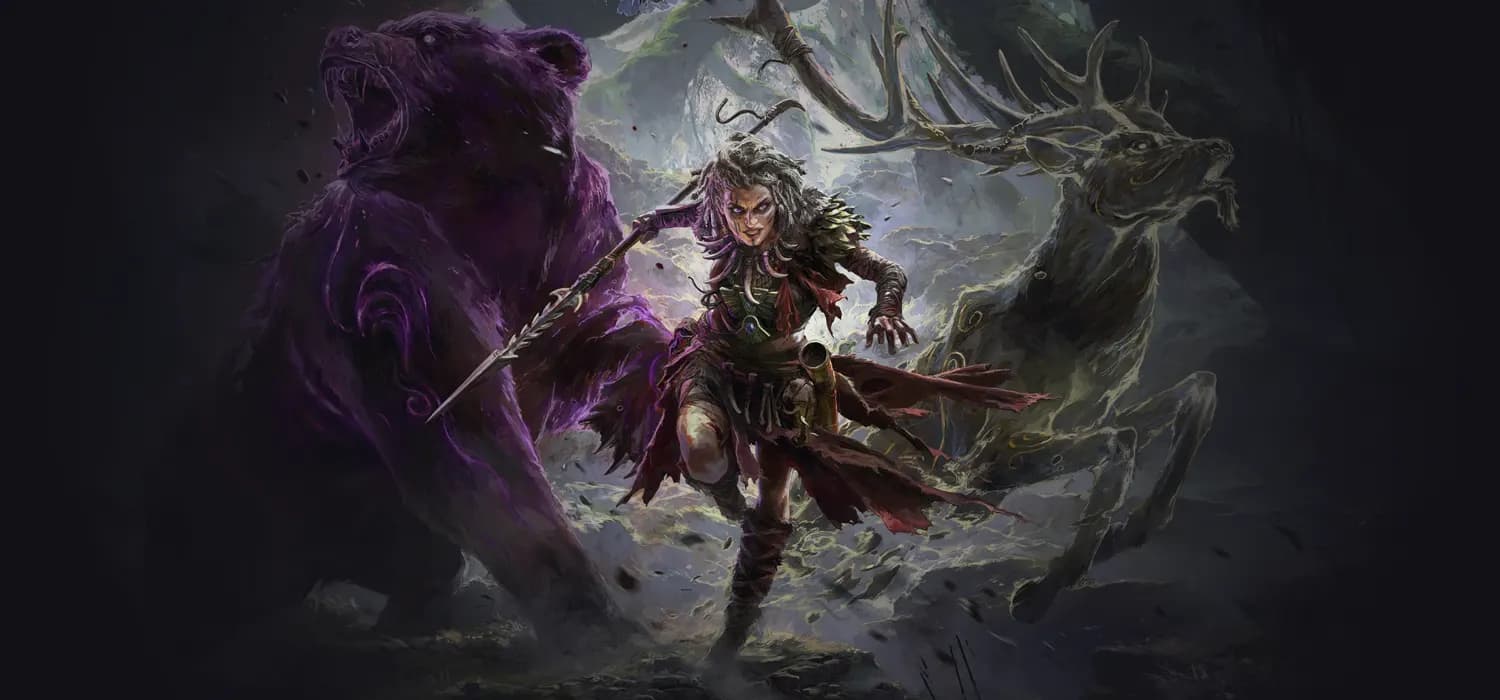
This build focuses on one thing: Getting the biggest, meanest, most powerful Boss Beast possible. You will be focusing all of your passives, gear, and effort into creating a single powerful Companion that will destroy Bosses in seconds, letting you breeze through endgame content!
A collaborative work by GhazzyTV and Lollash. If you have any questions or feedback to provide, please feel free to drop by our streams!
If you are looking for a guide to play through the campaign with, check out our Spiritwalker Companion Leveling guide, linked below!
Strengths and Weaknesses
- Good Visual Clarity for a Minion Build
- Comes online quickly, and can be scaled multiple ways
- Has a very high potential ceiling with investment
- Starts off a little weak defensively, so requires more defensive positioning
- Finding the perfect Companion Boss can be a bit grindy, but only for the purposes of MinMax’ing
Build Mechanics
Mighty Silverfist, and eventually his Map Boss variant Zekoa, the Headcrusher will be your Companion of choice. This opens up powerful Critical Strike scaling,while using support companions  Wild Protector‘s Spirit Bear Companion and
  Wolf Pack. Evasion and Deflection will help you avoid and mitigate damage, and the general benefits of playing with Minions or Companions let you focus on avoiding the most dangerous attacks from bosses, so you can explore all the new content with ease!
You will use several supports to make  Sniper’s Mark turn into a Utility powerhouse, enabling Shock with
  Charged Mark, Armour Break with
  Mark for Death, and amplifying the damage of your Companions’ Critical Strikes.
Video Guide
The Perfect Companion
At later stages in the game you will be looking to tame the Map Boss version of Mighty Silverfist, Zekoa, the Headcrusher. He can be found in the Riverside and Rupture maps specifically. This Boss is identical to the Mighty Silverfist in every way with one exception: Using Tablets on the map can cause it to have Rare Monster Modifiers, 4 of which can be stored in your  Tame Beast Skill Gem when it is captured. Here is the process for capturing your ideal
  Companion: Zekoa:
- First, find either a Riverside or Rupture Map on your Atlas.
- Add Rare Tablets with “Unique Monsters have 1 additional Rare Monster Modifier” or Cruel Hegemony Unique Tablets (the more you add, the more modifiers the Boss will have.
- Use Doryani as your Atlas Master, with the Passive “Stitch the Flesh” to give you one additional revive.
- Clear to the Map Boss and check its Rare Modifiers listed below its health bar. Here are a list of the modifiers you want, in priority order:
- Extra Crits.
- Hasted.
- Extra Damage as “x”, ideally Chaos or Physical Damage.
- Shroud Walker/Soul Eater.
- If you are using the Doryani Atlas Master passive Stitch the Flesh you can deliberately die when fighting the Boss to reroll their modifiers. Obviously, don’t do this in hardcore. This will allow you to effectively reroll the Boss, letting you get 2 attempts at finding the right mods
- There is the possibility to start a Ritual chain on a Riverside or Rupture Map, particularly one located near a City Biome, to force Zekoa, the Headcrusher to spawn multiple times per map, and to allow you to use 4 Tablets if the Ritual paths through the City Biome. This requires very specific tablets and can get very expensive, but will maximize your chances of finding a Perfect Companion
Ascendancy
- Wild Protector provides you with a Spirit Bear Companion that will Intimidate, Maim, Knockback and Shred Armour, while also dealing quite good damage and helping with clear
- The Natural Order is the primary focus of the build, allowing you to Tame Unique Beast Bosses and enabling the whole build.
- The Catha’s Balance grants 60% of your main hand Weapon’s damage to all of your companions, giving you a very powerful and scalable way to increase your build power with more and more investment as you push deeper into the Endgame.
- Idolatry requires very specific planning, gearing and some expensive Idols, but will scale your damage and allow you to not only have all of your Companions, but also powerful Spirit Reservation Skills.
Skill Tree
This interactive skill tree will provide you with an overview of the final state of the build. When assigning travel Attribute Nodes, you will want to account for the requirements of your Skill Gems and Gear, and may have to respec some nodes as you find upgrades and progress.
Gem Info
In the Planner below, you will find a full list of Skill Gems and their Support Gems listed in order from highest to lowest priority, top to bottom, left to right. When choosing where you should use currency such as Perfect Jeweller’s Orbs, or when shopping for high-value Lineage Support Gems, you can use this table as a guide. Make sure you remember to Quality your Skill Gems as well, as many of the Skills in this build benefit significantly from Quality.
If you don’t have a Rattling Sceptre you should use a Purity Sceptre with the recommended Support Gems, and add 2x  Skeletal Reaver Minion as targets for your
  Pain Offering, using the Support Gems for
  Skeletal Warrior Minion.
You should only run 1 copy of  Upwelling II, either in your Purity sceptre if you are using one, or
  Wind Dancer if you are not. If you cannot fit
  Hulking Minions on your Companion: Zekoa then instead use
  Minion Mastery.
Before you have a Extra Crits mod for your Zekoa, the Headcrusher, you will want to replace  Supercritical with
  Heft, or Minion Mastery if you aren’t using Hulking Minions.
Build Files
If you would like to have an in-game guide to see the recommended Passive Tree and Skill Gems, you can download this file. It will need to be placed in the folder found at this file-path:
C:\Users[Your Username]\Documents\My Games\Path of Exile 2\BuildPlanner
Please keep in mind that a .build file does not replace a written guide, as there is a lot of information that just cannot be reasonably added to that file in a digestible way. For the best experience, and to make sure you have the most up-to-date information, make sure you refer to both the in-game file and the written guide here!
Below you fill find 2 seperate build files, one for the low budget version and one for the higher budget version. You will need to make sure you have the correct one downloaded and selected for your current budget.
C:/Users/(Name)/Documents/My Games/Path of Exile 2/BuildPlanner.Skill Rotation
As a Companion build, you will be focusing mostly on maintaining buffing and debuffing supportive skills while focusing on your positioning and letting your minions do most of the work. Here’s how to use the supportive skills in the most effective way:
- Cast
 Despair underneath any large packs of dangerous monsters, or underneath Boss monsters just before they spawn.
 - Cast Sniper’s Mark periodically on any Rare or Boss monsters to enable all of it’s Utility Support Gems, and to keep your Mana from reaching full to enable Upwelling II on Wind Dancer.
- Cast Pain Offering for a significant damage steroid when fighting static encounters, such as during League Mechanics, or when fighting against Bosses.
Gearing
Gear Affixes
In the table below, you will see a breakdown of the most important affixes for each gear slot, as well as what unique items the build uses. These are listed in order of priority, so consider your gearing options carefully.
When looking for Breach Crafted Rings and Belt with Minion Modifiers, any of them are valuable. However, this build does require achieving a high amount of Attributes and Resistances, and these should be prioritized. Afterwards, you can look to add additional Minion Damage or Defense modifiers to suit your own taste and based on availability.
IMPORTANT NOTE: Make sure that you are capped at 75% Elemental Resistances and meet all Attribute Requirements when you are changing gear pieces.
| Slot | Base | Prefix | Suffix |
|---|---|---|---|
| Main Hand |  Tyranny’s Grip Tyranny’s GripOR  Trenchtimbre TrenchtimbreRuneforged | 1. % increased Physical Damage OR 1. +Level of Minion Skills | Visit the Verisium Anvil and Upgrade these, once for Trenchtimbre, or twice for Tyranny’s Grip |
| Off Hand | Rare Sceptre (Rattling Sceptre) | 1.Allies in your Presence deal % increased Damage 2. Allies in your Presence deal # to # added Attack Physical Damage 3. Allies in your Presence deal # to # added Attack Damage (any element) | 1.+Level of Minion Skills 2. Allies in your Presence have % increased Attack Speed 3. Allies in your Presence have % increased Critical Damage Bonus |
| Helm | Rare Helm (Evasion Base) | 1. # Maximum Life 2. % % increased Evasion Rating 3. # Evasion Rating | 1. +Level of Minion Skills 2. % Resistances as needed 3. # Attributes as needed |
| Body | Rare Body Armour (Evasion Base) | 1. # Maximum Life 2. % % increased Evasion Rating 3. # Evasion Rating | 1. % Resistance as needed 2. # Attributes as needed 3. Hybrid Resist/Attributes/Deflect damage reduction |
| Gloves | Rare Gloves (Evasion Base) Runeforged | 1. # Maximum Life 2. % % increased Evasion Rating 3. # Evasion Rating | 1. % Evasion gained as Deflection Rating 2. % Resistance as needed 3. # Attributes as needed |
| Boots | Rare Boots (Evasion Base) Runeforged | 1. % Movement Speed 2. # Maximum Life 3. % % increased Evasion Rating | 1. % Evasion gained as Deflection Rating 2. % Resistance as needed 3. # Attributes as needed |
| Belt | Rare Belt (Breach Crafted) | 1. # Maximum Life 2. Minion Modifiers from Breach Crafting | 1. +Level of All Minion Skills |
| Rings | Rare Ring (Breach Crafted) | 1. # Maximum Life 2. Minion Modifiers from Breach Crafting | 1. % Resistance as needed 2. # Attributes as needed 3. Minion Modifiers from Breach Crafting |
| Amulet | Rare Amulet | 1. # Maximum Life 2. % increased Evasion Rating 3. % increased Evasion Rating from equipped Body Armour | 1. +Level of Minion Skills |
Instilling Your Amulet
To gain access to the ability to instill your Amulet, you will need to progress the Delirium Questline in the Endgame mapping system. Early on you will want to Instill Vile Mending to improve Minion survivability, and after acquiring a  From Nothing for Blackflame Covenant you will change your Instill to Right Hand of Darkness.
Unique Items (Work in Progress)
Tyranny’s Grip – This early game spear can be Runeforged TWICE at the Verisium Anvil, scaling its flat damage to very high levels. It is also, as of the time of writing, a cheap option. Simply buy the base item with as close to perfect % increased Physical Damage as you can, upgrade it twice, and quality it to get your Endgame weapon.
Trenchtimbre – Trenchtimbre will provide you with slightly more damage, and give your Companions slightly more Health, but tends to be more expensive and will add additional Attribute pressure to the rest of your gear. Both this and Tyranny’s Grip are perfectly viable, so you should buy the one that is cheapest, or fits your needs the best.
High Budget Options
From Nothing (Blackflame Covenant) will allow you to pick up some very valuable nodes surrounding it, specifically Entropic Incarnation, Vile Mending and Grip of Evil, allowing you to change your instill to Right Hand of Darkness.
Mageblood is always an option, but has a highly varied potential modifier pool. If you can afford one of these you will need to adjust your build based on the Legacy of the Mage modifiers it has.
Augments (Work in Progress)
This table will show you what Augments are used for each gear slot.
| Slot | Socketable |
|---|---|
| Main Hand | Greater Rune of Leadership |
| Off Hand | Primate Idol / Warding Rune of Bodyguards (if no Carved Majesty) |
| Helm | Idol of Ralakesh / Idol of Egrin |
| Body Armour | Hawk Idol / Rabbit Idol |
| Gloves | Carved Majesty / Snake Idol |
| Boots | Fix gearing issues here with Resist or Attributes |
Jewels
This build can leverage strong affixes on Sapphires to scale your Boss Beast’s Critical Hits to insane levels.
- % Increased Minion Crit Damage
- % Increased Minion Damage
- % increased Minion Resistances
In addition to regular Jewels, you could also pursue Unique jewels such as  Heart of the Well, though it has incredibly high variability of affixes, or Prism of Belief (Tamed Companion) for additional skill levels up to the maximum cap of Level 40.
Flasks and Charms
The recommended setup for your flasks and charms is:
- Life Flask – % Recovery applied Instantly | % reduced Charges per use
- Mana Flask – % of recovery applied instantly | % reduced Charges per use
- Charms – Thawing Charm, Gold Charm, Silver Charm
- Also grants # Guard | % reduced Charges per use
Changelog
- June 25th, 2026: Added build files
- June 6th, 2026: Added Video Guide
- June 1st, 2026: Added Instills, other minor edits
- May 30th, 2026: Build Guide created for Path of Exile 2 (0.5 Update)
