Tornado Shot Deadeye Gear, Jewels, and Flasks
Path of Building
Path of Building for the Magic Find setup of the build is available here.
Included is the recommended set of Magic Find gear, a full skill tree, and all the gem links needed to get the build to tick.
We use the Path of Building Community Fork for all of our builds, which is highly recommended. If you are encountering errors importing the build, please ensure you are using the Community Fork.
Armour
Chest
The recommended Magic Find chests are cheap and easily attained at any point in the league:
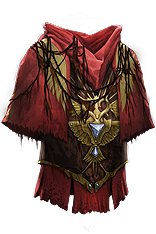 Queen of the Forest is the recommended choice for most builds. The superb movement speed is a huge steroid for your clear, and the general great survivability stats spread between Life, Resists, and a massive chunk of Evasion make it an easy choice. The fact that it is an obtainable item early in the league make it a realistic pickup fairly early in every league. If you’re comfortable playing the build, this chest can be used virtually forever as the best choice, as the movement speed alone is so valuable to our clear time.
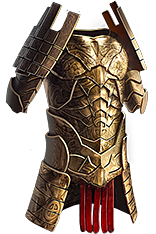 Greed's Embrace is occasionally used for even more Quantity and Rarity, but we feel the loss in clear speed makes it an inferior choice to Queen in virtually all scenarios.
If you plan on pushing towards a more rounded end-game and leveling well into the 90s, we recommend the following chests:
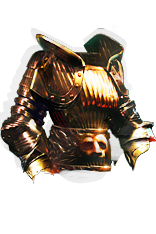 Kaom's Heart is the best way to minimize the potential of random one-shots. Due to the potential of
  Tornado Shot once your gear is fully enchanted with additional projectiles, the alternate
  Barrage link can be dropped in favor of additional survivability. This comes at the cost of some movement speed and evasion, which slows down clear. You also lose a large chunk of evasion, which makes damage intake from general mapping feel worse, but large spikes in damage feel better. Kaom’s Heart is generally a recommended pickup for Hardcore leagues, or players looking to hit 100 for the first time on a bow build.
 Queen of the Forest is still an excellent option due to the movement speed and sheer amount of Evasion, and can be used all the way to Level 100 without problems provided you are an experienced player.
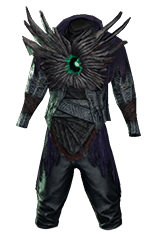 Shroud of the Lightless (1 Abyssal So cket) is an excellent option for both offense and defense, and works well for both the Classic Variant and the Surivability/Hardcore version. In order for it to be an effective choice, however, you will have to use multiple 2-socket Abyssal items such as
 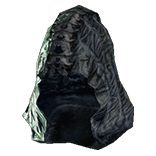 Lightpoacher,
 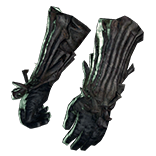 Tombfist, or
 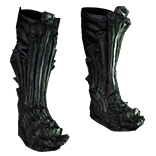 Bubonic Trail. Additionally, you must be able to purchase good quality Abyss Jewels for all of these items. If you can meet all of these requirements, this option can be superior to even
  Kaom's Heart while still providing exceptional offense, however, be prepared to pay a significant sum in order to get there.
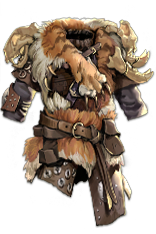 Farrul's Fur is the absolute best option available, but be prepared to pay a heavy premium for the privilege.
Head
Recommended Enchantment:  Tornado Shot fires 2 additional projectiles.
This enchantment is non-negotiable; it is one of the most important parts of the build. While it is not required right when you start mapping, it is a very high priority as one of your first major upgrades. An explanation of why extra projectiles matter so much is provided in the FAQ.
There are several Unique options that are quite attractive for  Tornado Shot. Bear in mind that enchants for popular Uniques are usually far more expensive than a Rare counterpart.
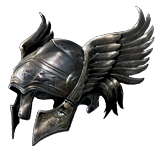 Devoto's Devotion offers the best clear speed and is ideal for farming purposes. Enchants for this item are fairly attainable early in the league, but the price tends to skyrocket after a week or so. This item is recommended for players looking to farm a lot of Shaped Burial Chambers, as the necessity for powerful defensive itemization is lessened. Devoto’s is a perfectly fine option for all map tiers, however, provided movement speed throughout the map is your priority.
 Starkonja's Head is the equally good alternative to Devoto’s, offering powerful survivability via Life and Evasion, as well as a nice boost to damage via the Critical Strike Chance. This is another really easy helm to find an enchant on early in the league, and thus a great choice while you’re still finding your footing. Despite its amazing potential as an early mapping unique, Starkonja’s can and has been used all the way to level 100 by many players due to its amazing all-round stats. This is a recommended option if you are looking for a more balanced build, offering superior defense and offense to
  Devoto's Devotion at the expense of the large movement speed bonus.
 Lightpoacher (2 sockets) is the absolute best possible helmet, however, only with perfect Abyss jewels. Enchanted versions are often unrealistically expensive, and for that reason this helmet is rarely used despite its potential.
Crafting a Rare helmet with the relevant enchant is perfectly acceptable and will help you save quite a lot on cost. Rare Helms can be easily crafted with  Pristine Fossils.
Prioritize affixes on your helmet as follows:
- [Uncapped] Elemental Resistances
- +# to Maximum Life
- +# to Intelligence
- % Increased Evasion/Armour/Energy Shield
- +# to Evasion/Armour/Energy Shield
Gloves
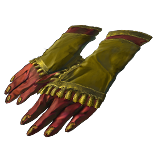 Sadima's Touch is the Magic Find option for the build, and the ideal choice for farming
 ![]() The Doctor cards in Shaped Burial Chambers. Keep an eye out for some nice corruptions on these, such as:
The Doctor cards in Shaped Burial Chambers. Keep an eye out for some nice corruptions on these, such as:
- Increased Attack Speed
- Curse Enemies With Level 12 Elemental Weakness on Hit
- % Increased Maximum Life
- +1 to Maximum Frenzy Charges
Rare Gloves are an excellent option as well, striking a great balance between budget and power. 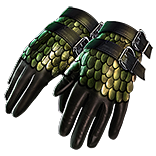 Gripped Gloves are usually the ideal choice of base. Prioritize affixes as follows:
- [Uncapped] Elemental Resistances
- +# to Maximum Life
- Adds # to # Lightning Damage to Attacks
- % Increased Attack Speed
- Adds # to # Cold Damage to Attacks
- Adds # to # Fire Damage to Attacks
- % Increased Evasion Rating
- +# to Evasion Rating
There are a few other attractive Unique options:
 Tombfist (2 sockets) can be the best option for survivability and offer very competitive damage. Their effectiveness is almost entirely dependent on the quality of your Jewels, however, and they limit the number of links you have access to if you are also using
  Bubonic Trail or
  Lightpoacher.
 Atziri's Acuity are an alright choice, saving you a Passive Skill point and adding additional Critical Strike. If you choose to use these gloves, they should be one of your last upgrades and are an extreme luxury item.
Boots
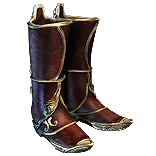 Goldwyrm are the most common and popular choice for Magic Find builds due to their huge increased quantity. Always ensure you have a maxed roll quantity set.
A pair of Rare boots with high Life, Resistances, and Movement Speed is typically the best option if you are not farming using a quantity bonus set. Prioritize the affixes as:
- % Increased Movement Speed (25%+)
- [Uncapped] Elemental Resistances
- +# to Maximum Life
There are also a few other Unique options:
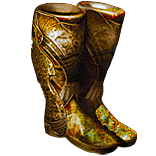 Atziri's Step are cheap and have good Life, Movement Speed, and Evasion. If you have enough Resistances, these are likely your best bet when heading into Maps early on.
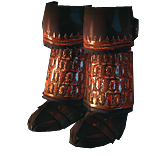 Kaom's Roots can be used for Uber Elder if you need them, since you do not really need
  Blink Arrow if you have these.
Recommended Enchants:
- 16% increased Attack and Cast Speed if you’ve Killed Recently (Clearing)
- Adds 45 to 68 Fire Damage if you’ve Killed Recently (Clearing)
- Damage Penetrates 10% of Enemy Elemental Resistances if you haven’t Killed Recently (Single Target)
- Adds 1 to 160 Lightning Damage if you haven’t Killed Recently (Single Target)
Weapon and Quiver
Weapon
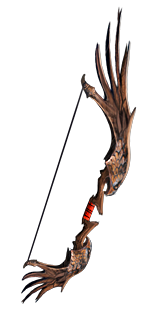 Windripper is the most commonly used bow for this build, and a really fun option due to its high base critical strike chance and attack speed. The inherent Quantity and Rarity bonus from simply killing enemies make this item ideal for farming, but it is more than enough damage to take you through all maps and most bosses. Windripper is usually relatively affordable, even very early in the League, making it a high priority acquisition early in your build. Usually, this will be your first big pickup (or
  Queen of the Forest).
A shaped bow is the absolute best option for damage and deep end-game, but isn’t a necessary investment to make the build feel complete and powerful. If you plan on trying to boss with this build, or just want to kit out your character, this is likely to be one of the last investments you make to round out the build. Look for bases like Decimation, Imperial, Highborn, and Harbinger. The best available Shaped affix is % Chance to Deal Double Damage + % Increased Attack Speed (a dual affix). You will also want to look for high flat Elemental damage. Ideally, you want the Shaped suffixes % Chance to Deal Double Damage + % Increased Attack Speed and % Chance to Gain a Power Charge on Critical Strike + % to Global Critical Strike Multiplier (another dual affix). Flat elemental damage and Elemental Damage with Attack Skills are the best conventional prefixes, but there are some nice Shaped options as well. Adds # to # Cold Damage to Attacks With this Weapon Per 10 Dexterity and Gain % of Physical Damage as Extra Cold damage are both solid affixes as well. We recommend finding a bow with the suggested Shaped suffixes (Double Damage + Attack Speed is very powerful) and high flat Elemental Damage, then trying to find one or two of the other affixes to round it out.
Generally speaking, however, prioritize affixes as follows:
- Adds # to # Lightning Damage
- Adds # to # Cold Damage
- % Increased Elemental Damage with Attack Skills
- % Increased Global Critical Strike Multiplier
- % Increased Critical Strike Chance
- Adds # to # Fire Damage
- % Increased Attack Speed
All the above affixes are very close in priority, however, the most important are the Lightning and Cold damage rolls. These form the base damage of your bow. You should try to get at least five of these affixes on your Rare bow, which should ideally be either a 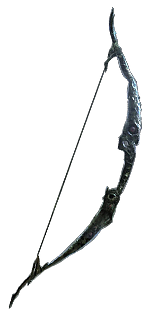 Harbinger Bow or an
 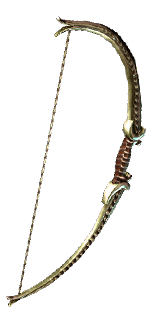 Imperial Bow.
There are many Shaped and Elder mods for bows, and specifically  Tornado Shot, that can be extremely overpowered in certain combinations. They are a little too complicated to explain in list format since the priorities can quickly shift with current gear and combinations of affixes, however, if you have questions please feel free to ask for clarification in the comments!
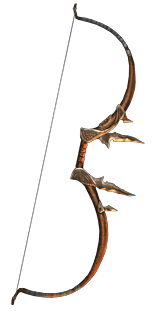 Chin Sol is an option as a weapon swap if you are using
  Barrage. While this will not be as effective as a Shaper Bow, it is a significantly less expensive investment and can be resold later if necessary.
Quiver
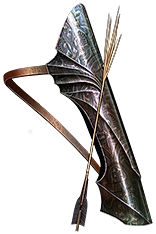 Rigwald's Quills is a fantastic option that is fantastic for clear speed, albeit quite expensive. This item is a matter of some preference; some players love it, while others prefer to use a shaped quiver. In terms of pure clear speed, this is likely the best option available, and the life gain on hit is not insignificant. This piece is definitely a worthwhile investment, and though it is expensive, it delivers on fast clear speed and very high damage output.
A Rare Shaped Quiver is the best overall option as a do-it-all choice, as it offers high damage and good survivability. If you plan on pushing higher tier maps and/or killing high tier bosses in addition to farming for currency, this is a strong option. A Spike-Point Arrow Quiver is a good base to start with, however, you’ll want to upgrade to a Corrupted Quiver, once you can afford it, with Bow Attacks Fire an Additional Arrow. Prioritize affixes as follows:
- +# to Maximum Life
- Adds an Additional Arrow (Shaped Prefix)
- % Increased Elemental Damage with Attack Skills
- % Increased Global Critical Strike Multiplier
- % Increased Global Critical Strike Chance
- % Chance to Gain Onslaught for 4 Seconds on Kill (Shaped Suffix)
- % Increased Attack Speed
- Adds # to # Lightning Damage to Attacks
- Adds # to # Cold Damage to Attacks
- Adds # to # Fire Damage to Attacks
- Resistances
Accessories
Amulet
 Bisco's Collar is the best amulet for Magic Find, due to its significant Quantiy and Rarity bonuses.

A Rare is the best option for damage and survivability, and also a competitive option for Magic Find if you can afford a Shaped version with Quantity. Having higher amounts of Resistances on the rest of your gear allows you to itemize more freely on the amulet, which can be immensely helpful. Prioritize stats as follows:
- [Uncapped] Elemental Resistances
- +# to Maximum Life
- % Increased Elemental Damage with Attack Skills
- % Increased Quantity (Shaped)
- % Increased Global Critical Strike Multiplier
- % Increased Global Critical Strike Chance
- Adds # to # Lightning Damage to Attacks
- Adds # to # Cold Damage to Attacks
- % Increased Damage
- Adds # to # Fire Damage to Attacks
There are a variety of other stats available on amulets that are valuable for this build as well, such as Flat Fire Damage or % Increased Lightning Damage. This is advantageous, as it makes finding a solid Rare relatively easy, since the requirements are not particularly strict in order for it to be an effective item. Path of Building is the best way to check how much of an upgrade a particular piece will be, or the priority of stats for your exile, as this is likely to shift a little depending on your current gear and affix weightings.
Rings
 Ventor's Gamble is the best and most popular ring(s) for Magic Finding, and can be used in both ring slots. The Quantity roll is the most important, and you should always aim for an 8%+ roll at least. A decent rarity roll and at least one Resistance are enough to round out item, and with an item like Ventor’s, there is always room to upgrade later on due to the sheer amount of variance.
Rare rings with Life, Resistances, and damage are a great alternative for leveling deeper into the 90’s, or pushing delves further. Prioritize stats as follows:
- [Uncapped] Elemental Resistances
- +# to Maximum Life
- % Increased Elemental Damage with Attack Skills
- Adds +# to # Lightning Damage to Attacks
- Adds +# to # Cold Damage to Attacks
- % Increased Global Critical Strike Multiplier
- % Increased Global Critical Strike Chance
- Adds +# to # Fire Damage to Attacks
- % Increased Damage
Belt
 Bisco's Leash is an affordable choice for Magic Finding early on. If you are farming Shaped Burial Chambers often, this belt is a perfect companion as extra damage will be unnecessary.
A String of Servitude with the Increased Item Quantity roll is the absolute best option for pure quantity, as it can have anywhere between 12-15% IIQ.
A Rare belt is the best option for leveling barring  Headhunter, due to the high damage potential and Resistances. A
  Stygian Vise is the best best, followed by
  Leather Belts. Prioritize stats as follows:
- [Uncapped] Elemental Resistances
- +# to Maximum Life
- % Increased Elemental Damage with Attack Skills
- +# to Strength (if needed for
 Kaom's Heart)
 - % Increased Lightning Damage
- % Increased Cold Damage
- % Increased Effect of Flasks
- % Increased Damage
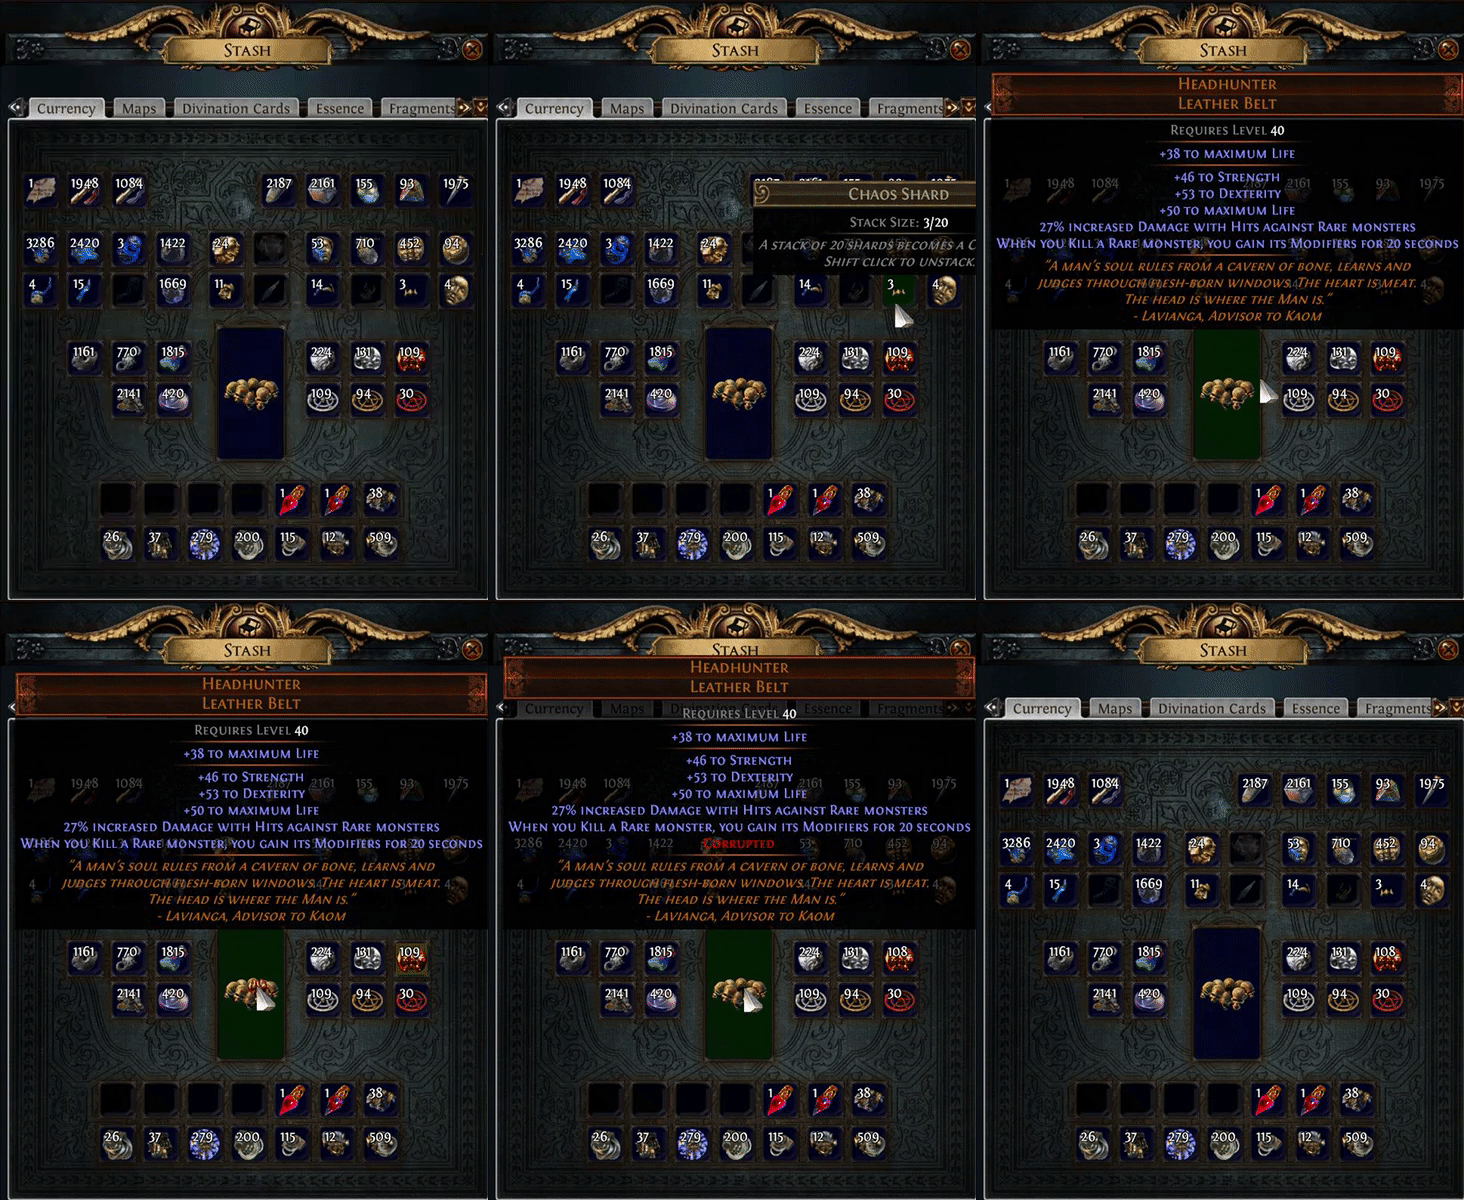
 Headhunter is utilized better in this build than any other, catapulting your clear speed to new and extraordinary heights. While it is an expensive item, and indeed, an item many players see as unattainable, it is a great end-point to shoot for, and a worthwhile goal. Due to the sheer amount of currency this build farms, Headhunter is never “out of the cards” (excuse the pun).
Jewels
Unique Jewels
 Inspired Learning is a Unique Jewel that many have come to call Headhunter Lite, or mini-Headhunter. You gain one randomly selected mod when you defeat and Rare enemy and it is applied to the player.
This is a fantastic gem to use in combination with  Headhunter as the effect stacks with the
  Headhunter mods.

 Lioneye's Fall is optional, and has fallen from grace somewhat since some of the changes to Soul Raker. Now a relatively afforable option,
  Lioneye's Fall and the nodes up to and including Soul Raker are very efficient early in the mapping process. Many players are used to playing using this Jewel and it remains a viable and effective option, though it is displaced by our recommended tree in terms of damage and survivability in the late-game, once you have good quality gear and Jewels.
 Watcher's Eye Choices
 Watcher's Eye is always a fun luxury item, and there are some great options for this build. None of them are required, and this should be one of your last upgrades if you choose to use one. Prioritize them as follows:
- (70-100)% increased Critical Strike Chance while affected by
 Wrath
Wrath - (40-60)% increased Lightning Damage while affected by
 Wrath
Wrath - +(30-50)% to Critical Strike Multiplier while affected by
 Precision
 - (10-15)% increased Attack Speed while affected by
 Precision
 - Damage Penetrates (10-15)% Lightning Resistance while affected by
 Wrath
Wrath
Be sure to check this for yourself in Path of Building before making any big investments, as this priority can shift based on your current stats.
Abyss Jewels
This build is an amazing user of Abyss Jewels, and they outperform their “standard” counterparts in every instance. The rest of our Jewel slots should be filled with  Searching Eye Jewels, which are the best available option. Jewels can be pricey, but they are well worth the investment.
If you are using  Tombfist, you will also want to incorporate a
  Murderous Eye Jewel to socket in your gloves. If you are using
  Bubonic Trail you will want a
  Murderous Eye Jewel and
  Hypnotic Eye Jewel (1 of each, does not matter where they are socketed in your gear or tree). Do not bother with
  Ghastly Eye Jewels as they have nothing of value.
Prioritize stats as follows:
- +# to Maximum Life
- % Chance to Gain Onslaught for 4 Seconds on Kill*
- Adds # to # Lightning Damage to Bow Attacks
- Adds # to # Lightning Damage to Attacks
- Adds # to # Cold Damage to Bow Attacks
- Adds # to # Cold Damage to Attacks
- Adds # to # Fire Damage to Bow Attacks
- Adds # to # Fire Damage to Attacks
- % Increased Global Critical Strike Multiplier
- % Increased Global Critical Strike Chance
*The % Chance to Gain Onslaught for 4 Seconds on Kill is only necessary on one or two Jewels, depending on the roll. You want around 6-10% chance to gain Onslaught on kill, which will allow you to keep it up most of the time while clearing.
If you are using  Murderous Eye Jewel and
  Hypnotic Eye Jewel your stat options are more limited. Try to get ones with Life, Global Critical Strike Chance and/or Multiplier (both is the absolute best outcome), and one other useful stat. There are quite a few niche Abyss Jewel stats you can make use of, such as % Increased Damage if You’ve Killed Recently, so do not be afraid to scoop one of these up on these Jewels if you spot them.
Flasks
This is our recommended Flask setup. Feel free to swap prefixes or suffixes as you like. We recommend having Freeze immunity on at least one flask.

- Seething
 Divine Life Flask of Staunching
  Dying Sun
 Vessel of Vinktar (Adds Lightning Damage to Attacks) OR
  Atziri's Promise
- Experimenter’s
 Diamond Flask of Warding (or Heat)
 - Alchemist’s
 Quicksilver Flask of Adrenaline (or Heat)
 Dying Sun can be swapped out for another flask until you can afford it, ideally either a Silver or Jade flask with an Adrenaline suffix.
 Vessel of Vinktar (Adds Lightning Damage to Attacks) adds a large injection of damage at the cost of leech.
  Atziri's Promise, on the other hand, is very cheap and can be used virtually forever in the end-game. We recommend Vinktar if the rest of your gear is already exceptional, and Atziri’s flask otherwise.
 The Wise Oak is also exceptional for this build if you are able to balance your resists evenly, but otherwise not worth using.
Check out the main page of the guide or use the menu on the right side of this page to navigate to the other sections of the guide.


