Ultimate Raise Spectres Necromancer — 8M+ DPS Powerhouse on a Budget (PoE Sentinel 3.18)
Introduction
Due to the latest balancing changes, we do not recommend playing this build anymore, as it does not meet the high standards we apply to our guides in terms of fun and performance. We are leaving it up as a reference and it might be revived in a later patch.
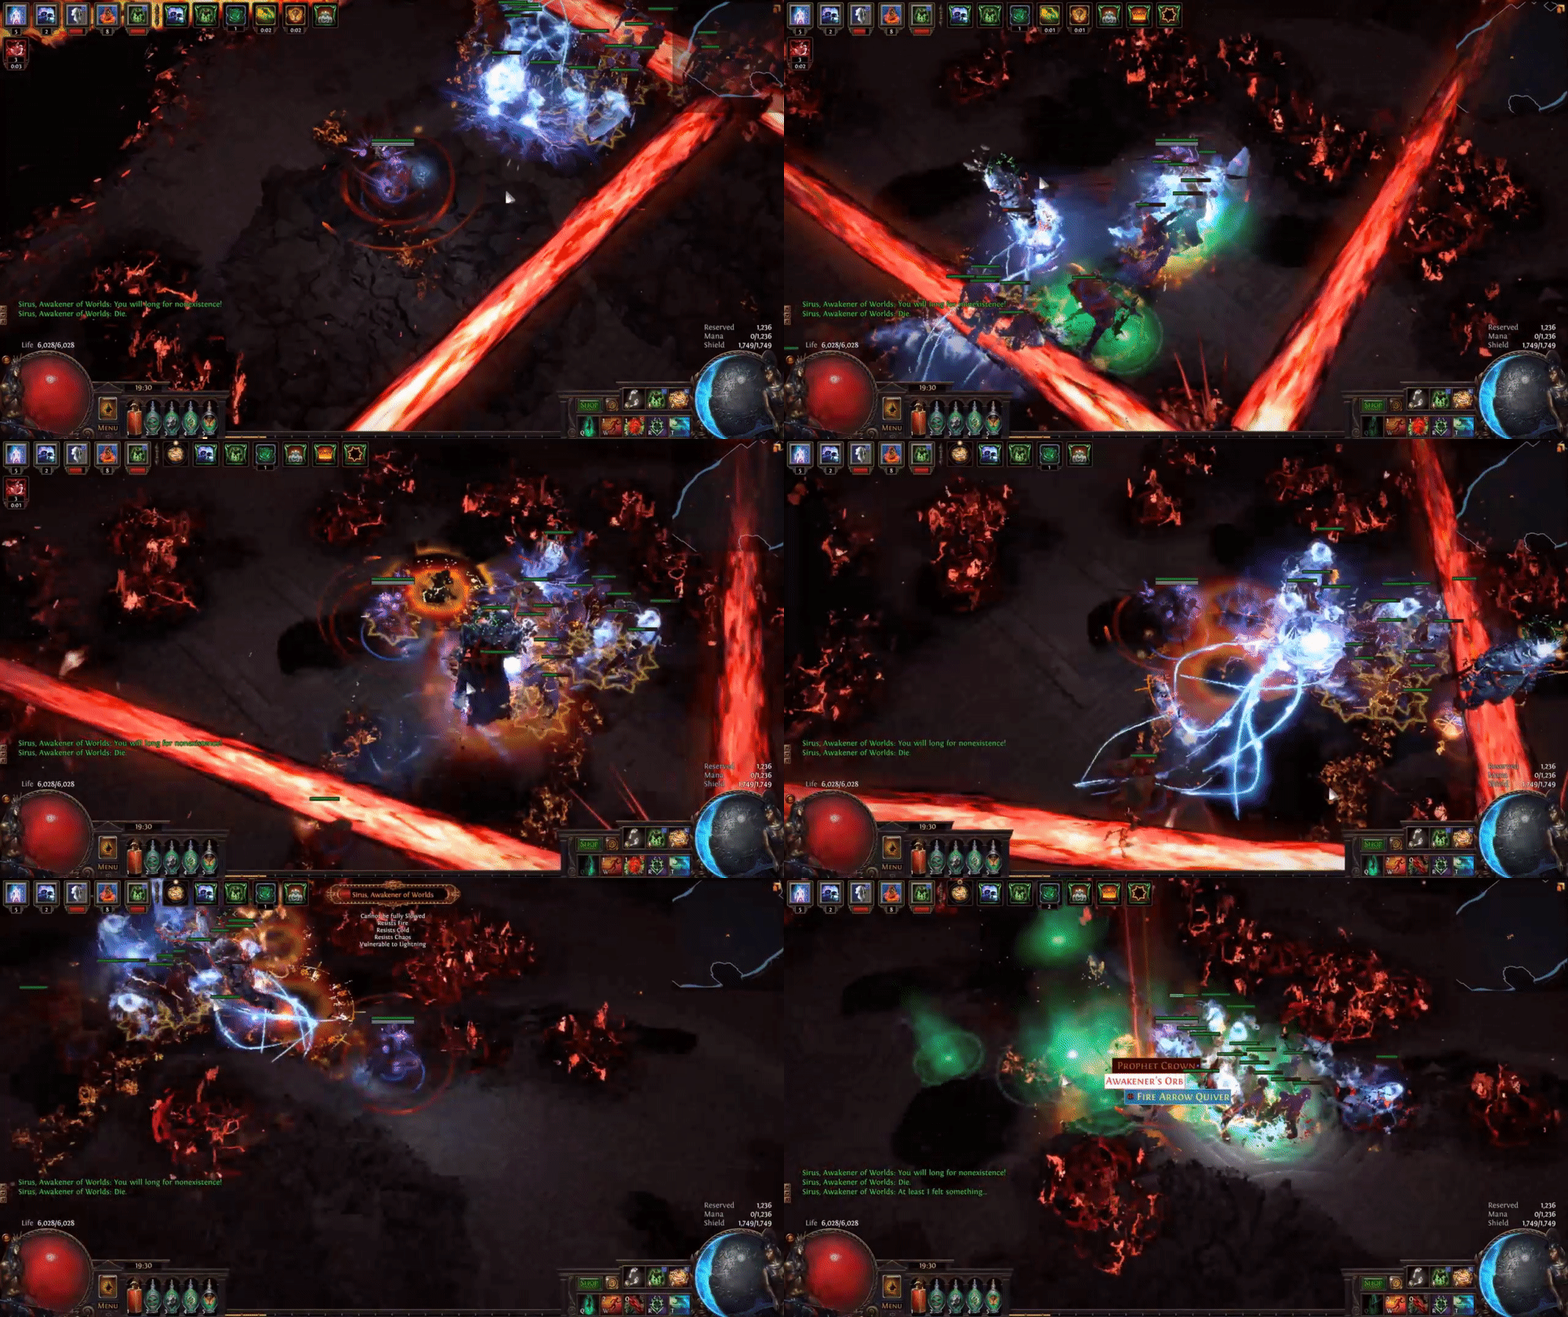
 Raise Spectre is the defacto king of summoner builds, sporting the best clear and the best damage. Better yet, it is not gated by any expensive Uniques or items — you can be tearing apart your first Awakener kill or blitzing through red maps for less than a hundred
  Chaos Orbs. The main uniques incorporated, such as
  Victario's Charity or
  The Devouring Diadem, can be obtained easily on any league (such as SSF) or are entirely optional.
There are several types of Spectres that are commonly used, however, this build focuses on making use of the Slave Drivers, an underutilized Spectre that actually puts the rest of them to shame. Boss killing, mapping, deep delving — all fall before the spectral army we can employ, giving this build a rare flexibility that few others can boast of.
Build Assessment
Pros
+ Exceptional boss slayer — used for many Uber Awakener first kills upon Sirus’ release
+ Massive DPS from our cadre of  Raise Spectres (5M+ Shaper DPS)
+ Strong all around defenses (high maximum life, regeneration, many Jewel sockets, high Evasion)
+ Excellent league starter
+ Reaches millions of DPS even with less than an  Exalted Orb of investment
+ Delve to depths of ~650+ without trouble
+ Flatten all types of content from the safety of the backline — let your army do the work
+ High movement speed
Cons
– Summoner playstyle is polarizing — usually a “love it or hate it” type of build
– Spectres can be squishy before end-game gem levels and tree and need special care
Path of Building
Path of Building is available for my build here.
DPS is counted for each spectre individually — remember you have 4 (or 5, if you have a +1 gems item!).
We use the Path of Building Community Fork for all of our builds, which is highly recommended. If you are encountering errors importing the build, please ensure you are using the Community Fork.
Playstyle and Build Mechanics
Many players find Necromancer to be a polarizing Ascendancy — the Summoner archetype is a fairly unique one in feel and gameplay, and while certain players fall in love with it from the get-go, others find themselves alienated by the differences. Our  Raise Spectre Necromancer strikes a nice balance between a conventional build and a summoner — since
  Armageddon Brand is used as the main trigger for our Elemental Equilibrium, this build does have the combined feel of a spellcaster and a summoner.
This build makes use of the Slave Driver, an uncommon choice but our overall best option in Patch 3.12 Heist League. Unlike past iterations of the summoner, we do not need to make use of multiple types of spectres to maximize our potential in all areas of the game — boss killing, clear, and delve, the Slave Drivers are exceptional at it all.
Elemental Equilibrium allows us to deal massively increased damage with our minions for free and is easily applied using a self-cast spell. While this is not completely necessary for clearing standard mobs, it is an enormous increase for bossing and Legion rares, and helps us really power through targets that are a bit more beefy. Slave Drivers deal a heavy amount of Lightning damage and tear apart virtually everything.
Obtaining the Slave Driver Spectres
- Go to the Control Blocks in Act V.
- Cast
 Desecrate to spawn corpses.
 - Cast
 Raise Spectre on a Slave Driver (holding “A” makes this process far easier).
With the new  Raise Spectre gem, the summoned spectre’s level is based on the level of your
  Raise Spectre gem and not the level of the zone you are in. You should be certain that you are using the highest level
  Raise Spectre gem you can afford.
Remove  Spell Echo Support from the link when casting
  Raise Spectre to summon the Slave Drivers, or you will summon twice in a row causing additional random spectres to spawn. We are using
  Spell Echo Support purely for influencing the Slave Drivers damage, not for the manual casting of
  Raise Spectre itself.
- Cast
 Raise Spectre on a Slave Driver (holding “A” makes this process far easier). Repeat this and the previous step until you have the maximum number of Spectres.
Passive Skill Tree
This is our recommended Level 90 Passive Skill Tree.
For more information and a late game juggernaut version of this build, be sure to check out the Passive Skill Tree page.
Gems
We go over all of the gem links this build uses in the end-game on our Gem Link page.
Ascendancy, Bandits, and Pantheon Powers
Our Ascendancy, Bandit, and Pantheon Power page goes into detail about all the choices you need to make in these regards.
Gear Summary / TL;DR
These items strike a balance between power and cost-effectiveness. If you want to explore more options for Gear (both budget and high-end), Flasks, or get more information on alternatives and specialty items, please ensure you read the Gear, Jewels, and Flasks section in its entirety.
Our recommendation:
| Item Slot | Item Name |
| Head | +3 Minion Gems  Bone Helmet or Bone Helmet or  The Devouring Diadem (has separate gem setup and talent tree) The Devouring Diadem (has separate gem setup and talent tree) |
| Amulet | Rare Amulet |
| Chest | +1 to Maximum Spectres Rare Chest |
| Gloves | Rare Gloves |
| Boots | +1  Raise Spectre Level Elder Rare Boots Raise Spectre Level Elder Rare Boots |
| Belt | Rare  Stygian Vise Stygian Vise |
| Rings | Rare  Unset Rings Unset Rings |
| Weapon | Trigger a Socketed Spell When You Use a Skill Rare Wand |
| Shield |  Victario's Charity or Rare Shield Victario's Charity or Rare Shield |
For much more detailed information on the best gear, jewels, and flasks to use, be sure to check out our Gear page.
Leveling
As a reminder, we have several guides to help you level up a character.
- Our step-by-step leveling walkthrough, which allows even more experienced players to save time and speed through the leveling process.
- Our guide to Unique Items for leveling, which helps you gear up your characters for the leveling process.
- Our beginner leveling guide, which answers many of the questions new players might have and will set you on the right path.
Act I
It is highly recommended you follow our Quick Reference Leveling Guide in tandem from this point onwards. It is the most efficient leveling guide available and will direct you exactly where you need to go to get through the Acts as quickly as possible while also obtaining all essential items and lab trials. This section is written assuming that you are following our optimal path.
20 Point Tree

Kill Hillock and enter Lioneye’s Watch. Collect  Freezing Pulse from Tarkleigh and immediately purchase
  Raise Zombie from Nessa. Remove
  Fireball and replace it with
  Freezing Pulse linked to
  Arcane Surge Support. Keep your
  Fireball gem for now.
Socket  Raise Zombie as soon as you are able and use these two abilities as you enter The Coast and beyond. Keep an eye out for any
  Sapphire Ring drops and pick them up.
After you return to Lioneye’s Watch for the first time (assuming you are following the guide), collect:
 Summon Raging Spirit from Tarkleigh’s reward
 Frostblink from Tarkleigh’s reward
 Summon Phantasm Support and your
  Quicksilver Flask from Nessa’s reward
- Purchase
 Holy Flame Totem from Nessa
Now link together:
And socket your  Summon Raging Spirit to begin leveling it up.
After you kill Brutus and return to town, collect:
 Infernal Legion Support from Tarkleigh’s reward
 Flame Dash from Tarkleigh’s reward
- Purchase
 Minion Damage Support from Nessa
 - Purchase
 Combustion Support from Nessa
 - If you can afford to, buy a second
 Minion Damage Support as well
 Freezing Pulse is no longer needed to clear or kill enemies but hold onto the gem if you need a
  Sapphire Ring for Merveil.
Convert your  Holy Flame Totem to a 3-Link as soon as possible:
Additionally, link  Summon Raging Spirit when a second 3-Link is available:
You should also link your  Raise Zombie to the other
  Minion Damage Support, as lowest priority, for additional damage and auto-clear.
When you return to Lioneye’s Watch after entering the Cavern of Wrath:
- Speak to Nessa and collect
 Flesh Offering
Recommended to bring at least one  Sapphire Ring to kill Merveil, or two to make it super smooth. If you haven’t received any as drops:
- Purchase an
 Iron Ring (or two if you need a second ring)
 - Sell your
 Iron Ring and your
  Fireball together
 - Repeat this process with another
 Iron Ring and
  Freezing Pulse for a second
  Sapphire Ring
This recipe works for any Resistance ring —  Iron Ring + gem — with blue gems for Cold Resistance, red for Fire Resistance, and green for Lightning Resistance.
Act II.
38 Point Tree

In this Act we kill Oak, Kraityn, and Alira for the 2 Passive Points from Eramir.
After you kill the Weaver collect:
- Predator from Silk’s reward
- Purchase
 Melee Physical Damage Support from Yeena
After you have completed The Root of the Problem quest collect:
 Desecrate from Greust’s reward
- Purchase
 Summon Skitterbots from Yeena
 - Purchase
 Melee Physical Damage Support from Yeena
Now it’s time to reconfigure your links. Your  Holy Flame Totem 3-Link stays the same. The
  Summon Raging Spirit link becomes:
Your new link, and first aura, will be  Summon Skitterbots:
Your  Raise Zombie link can stay the same for now, or you can add a
  Melee Physical Damage Support to make it a 3-Link if you have space.
These links should be plenty to get you all the way through Act III.
Act III
61 Point Tree

It’s worth doing the Library quest if you are League Starting or Solo Self-Found, as there are several helpful leveling gems:
 Feeding Frenzy Support (quest reward)
 Added Fire Damage Support (purchase)
 Wrath (purchase) — do not use for now, but level it up in a gem slot or offhand
Make your  Raise Zombie a 4-Link:
 Raise Zombie
 Minion Damage Support
 Melee Physical Damage Support (take from your Raging Spirit link if you don’t have it yet)
 Feeding Frenzy Support
And your new  Summon Raging Spirit 3-Link will be:
Be sure to take  Raise Spectre as your quest reward after killing General Gravicius to start leveling it up immediately.
Leveling with  Raise Spectre
You can start using  Raise Spectre to level in a 4-link from this point onwards, should you desire. This is much easier done with a
  Wraithlord and is usually slower than simply using zombies and raging spirits if league starting, but it is a viable strategy.
Link together:
Head to Act I The Ledge and cast  Desecrate. Use the “A” key to mouse over the corpses and raise 2 Cannibal Fire Eaters. Repeat
  Desecrate cast if you can’t find them in the pile of corpses. You should still keep your
  Holy Flame Totem and at least one other minion link, as the spectres do not have very impressive clear speed or tankiness at this level.
Act IV
You can ascend in The Labyrinth to Necromancer whenever you choose at this point. Remember that we take Mindless Aggression first.
Golem of choice is  Summon Stone Golem for its taunt and regeneration. You should also take the
  Spell Echo Support reward and start leveling it in the offhand for later on.
Act V and Onwards
89 Point Tree

This tree should be completed around the time you are finishing Act X and are ready for the Merciless Labyrinth.
As you start Act V you can ditch your  Summon Skitterbots link with
  Infernal Legion Support and start running both
  Summon Skitterbots and
  Wrath at the same time. If you are using spectres in your leveling setup you can also get Slave Drivers from Act IV now, but be aware they are somewhat squishy, so don’t hesitate to invest in some additional Minion Life if necessary (or link them to
  Minion Life Support).
If you are using  Summon Raging Spirit as a form of primary damage, you should upgrade to a 4-Link at this point:
 Summon Raging Spirit
 Minion Damage Support
 Added Fire Damage Support
 Melee Physical Damage Support or
  Melee Splash Support
Melee splash allows you to use your raging spirits to clear; you can simply fire a few off and keep running through the area. Melee Physical will be helpful for burning down bosses and will gain value as you get deeper into the Acts. Choose one or feel free to swap between them if you want to try hard.
Improving the  Animate Guardian
 Animate Guardian is similar to having your own personal [budget] aura-bot, following you and your undead army around and keeping them buffed up and strong. You can equip the
  Animate Guardian with powerful items and gear, however, if the guardian dies all its equipped items are lost on death.
One of the primary factors behind the survival of the  Animate Guardian is gem level. Your
  Animate Guardian gem level should be at least Level 20 before you start to equip it with proper gear, especially if they are items you fear to lose. Additionally, there are a few ways of improving your
  Animate Guardian‘s gem level:
 Empower Support
- Socket
 Animate Guardian in a +# to Level of Socketed Minion Gems helmet
Your  Animate Guardian wants as much Life Regeneration as possible to ensure it always stays healthy, even with constant use of
  Convocation. One of the main Uniques that is excellent for fulfilling this purpose is
 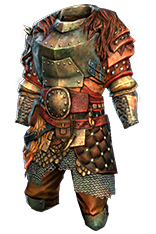 Gruthkul's Pelt, which gives it a large injection of Life, Resistances, and a healthy 5% Life Regeneration per second.
 Kingmaker is also an exceptional upgrade for damage and survivability, and ensures that a mobility skill like
  Shield Charge (which can procure
  Fortify Support) is not at all necessary. It grants you and all your minions
  Fortify Support in perpetuity, Culling Strike, +50% to Critical Strike Multiplier, and a nice Rarity bonus.
  Kingmaker is the best possible upgrade, but not the most essential out of the gate — you want to ensure that your
  Animate Guardian will always survive before you start investing too heavily.
Upgrading the  Rainbowstride boots to a pair with the enchant Regenerate 2% of Life and Mana per second if you were Hit Recently is also ideal. Alternately, you can get a Rare pair of boots with Elemental Resistances, Life, and Life regeneration, although this is a larger investment and commitment and not necessary.
Life is one of the best stats for the  Animate Guardian, as we want as much Regeneration on it as possible, creating a nice synergy.
 Animate Guardian End-Game 4-Link
These are your options for improving your  Animate Guardian in the end-game. Even without
  Empower Support and
  Minion Life Support the
  Animate Guardian will be extremely difficult to kill. There are some attacks, however, that it may not survive such as Sirus’ meteor attack if you forget to use
  Convocation. It is highly recommended to use either Minion Life or Empower if you are delving past ~250, as the physical damage from monsters starts to become extremely high. Avoid taking the guardian any deeper than around 450, as it will likely be killed if the wrong combinations of mods arises.
 Animate Guardian
 Empower Support (Level 3/4) or
  Summon Stone Golem
 Elemental Army Support
 Minion Life Support or
  Raise Zombie
Here is our end-game recommendations for  Animate Guardian equipment, once it is properly Level 20 and you have
  Empower Support Level 3/4.
 Gruthkul's Pelt
 Kingmaker
 Leer Cast or Nearby Enemies Have -9% to Lightning Resistance Rare
  Bone Helmet (Delve Crafted with
  Metallic Fossils)
 Southbound
 Rainbowstride (Regenerate 2% of Life and Mana per second if you were Hit Recently Enchanted)
Remember that having a  Bone Helmet equipped on your character that has +# to Level of Socketed Minion Gems is enormously beneficial to your
  Animate Guardian‘s ability to survive (providing you have your link in the helmet, of course).
FAQ
Which Annointment is Best for My Amulet?
Our current preferences are:
- Ravenous Horde (
 Opalescent Oil +
  Opalescent Oil +
  Verdant Oil) is far and away the best choice, even with the nerfs in Patch 3.9.0 Metamorph.
My Spectres Are Dying
There are a few additional Minion Survivability nodes on the tree you can take if you find you need them, however, with the Ascendancy and Passive Recommendations we provided your minions should be extremely durable. Ensure you are casting  Convocation often if this process is not already automated.
How Can I Run Two 50% Auras?
As we note on the Passive Skill Tree Page, you will need to acquire the reduced Mana in the __Sovereignty_ wheel up in the top-left of the skill tree before being able to run both of your auras.
What Map Mods should I avoid?
Elemental Reflect is the only Map mod that is not possible/majorly inconvenient for this build, so avoid it at all points.
Check out the other pages of our guide for more information:


 Elemental Focus Support